Hello,
First, the disclaimer. These instructions are from someone that's done a few turbo swaps and hasn't blown a motor yet :cheer:
You'll need all your usual tools (metric sockets, wrenches, jack, jack stands, liquid wrench/WD-40/release all, eye protection, blah, blah, blah).
10mm, 12mm and 14mm are your friends :p
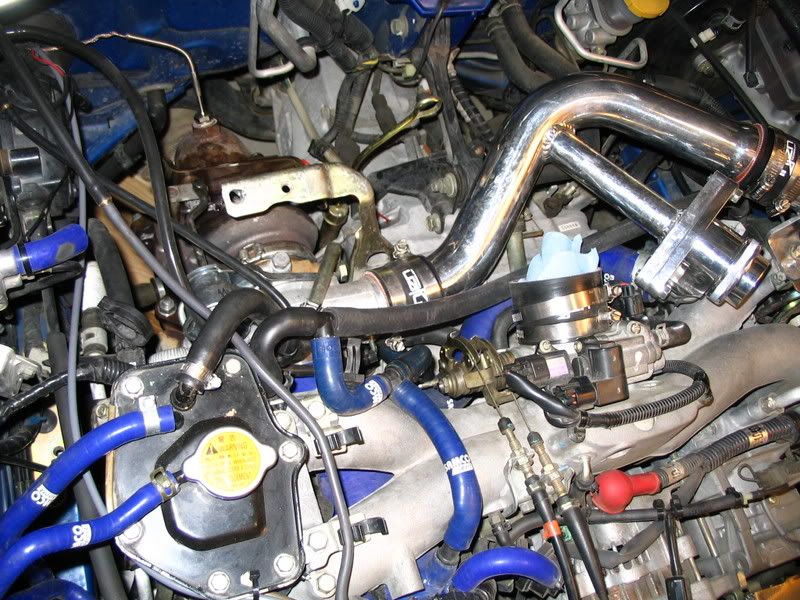
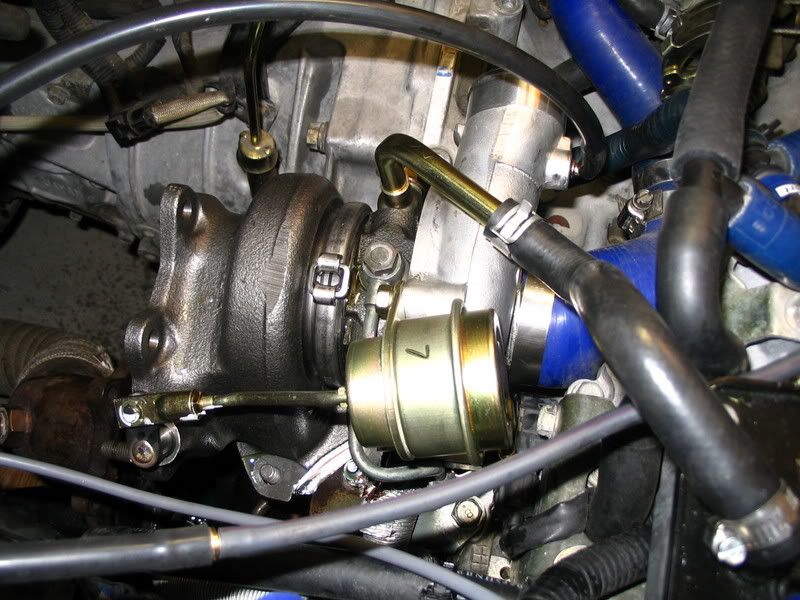
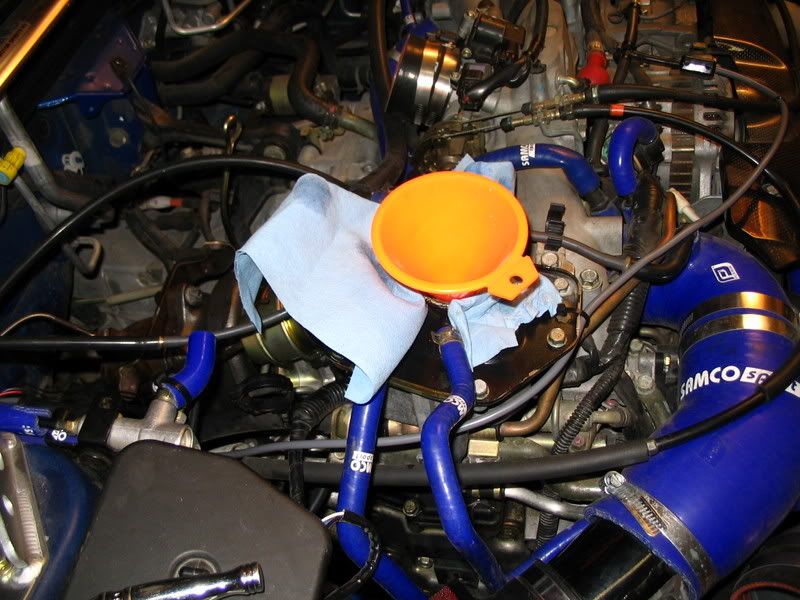
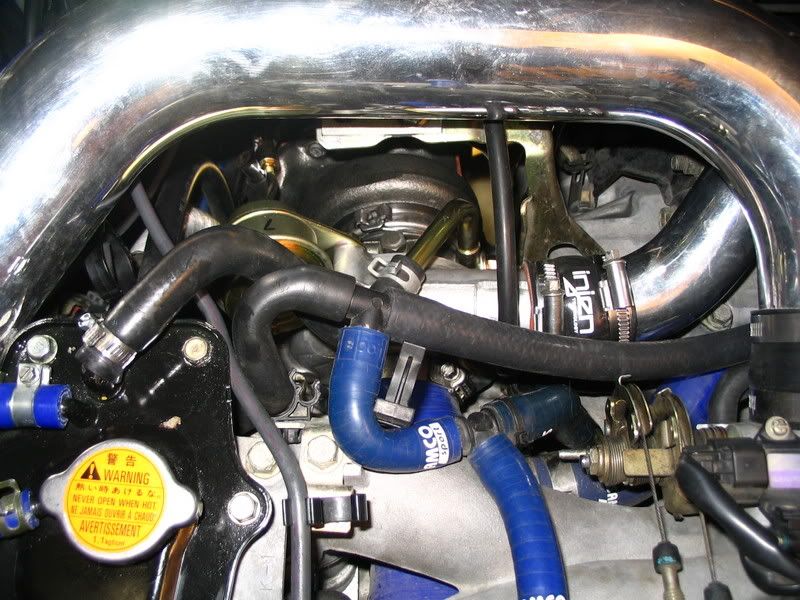
With that out of the way, here's the engine bay. This car has an FMIC but I'm sure you can find instructions on how to take off your TMIC.
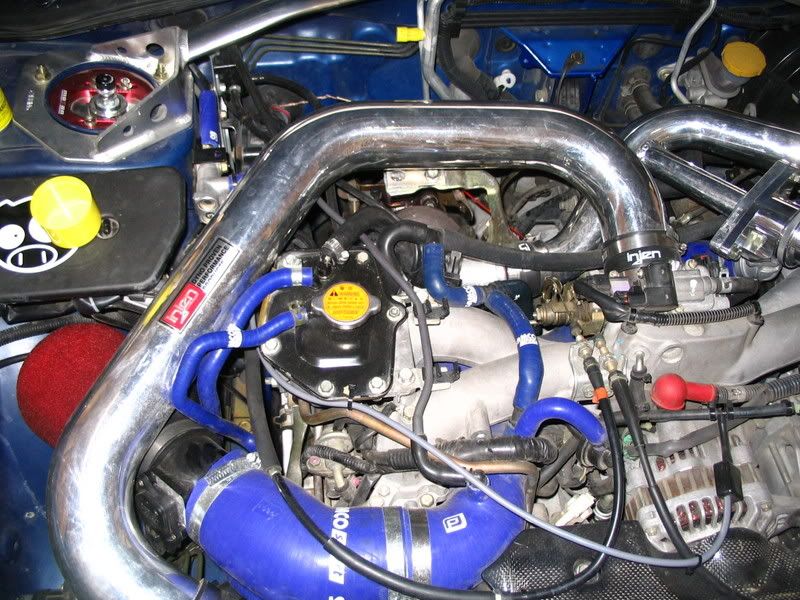
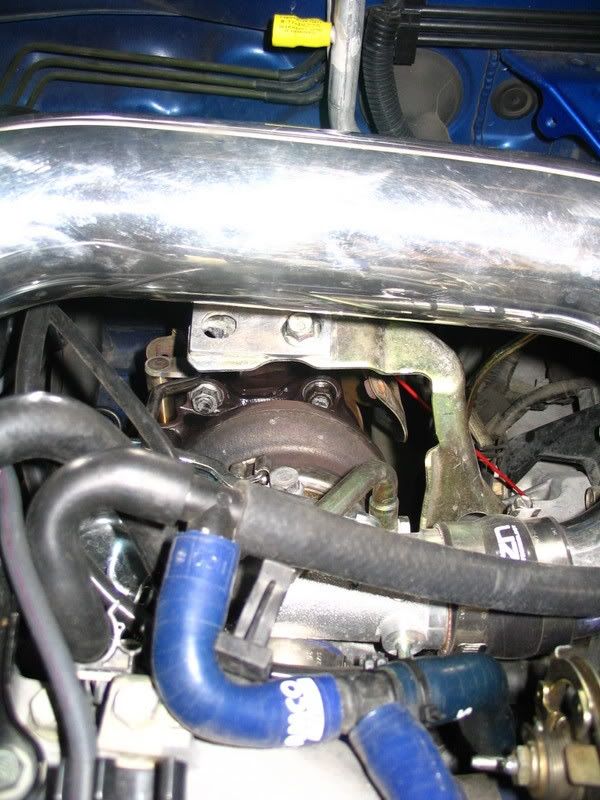
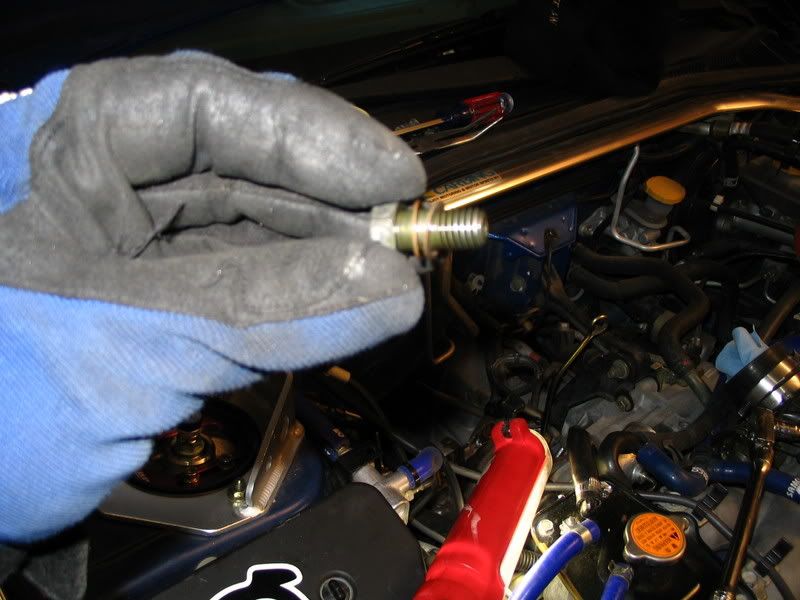
There's the little fella
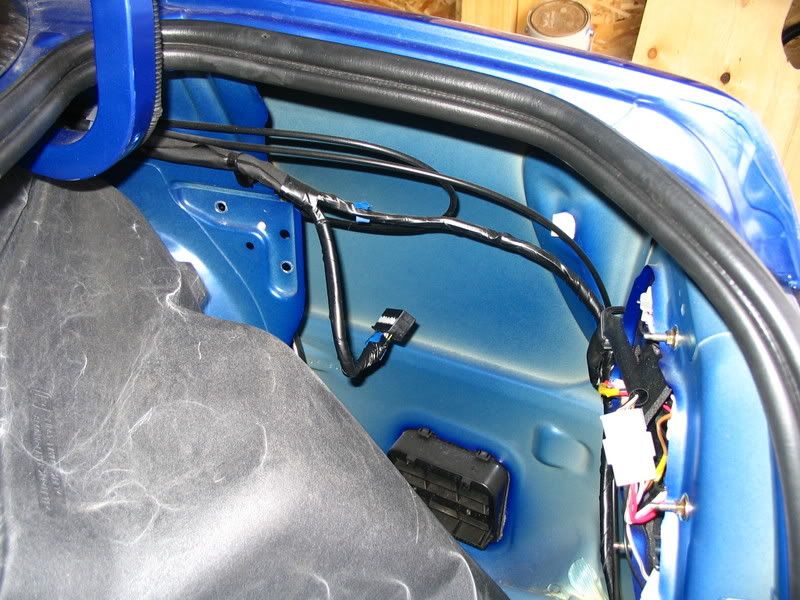
Now, go to the back of your car and pop the trunk. On the passenger side
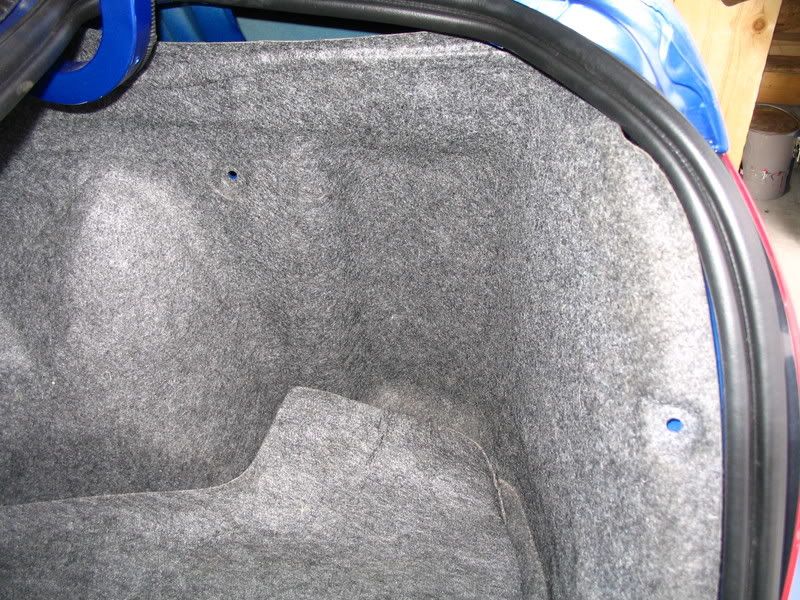
Remove the tabs holing in the carpet and peel it back. You'll see a couple brass bolts. Undo them to get at your fuel controller
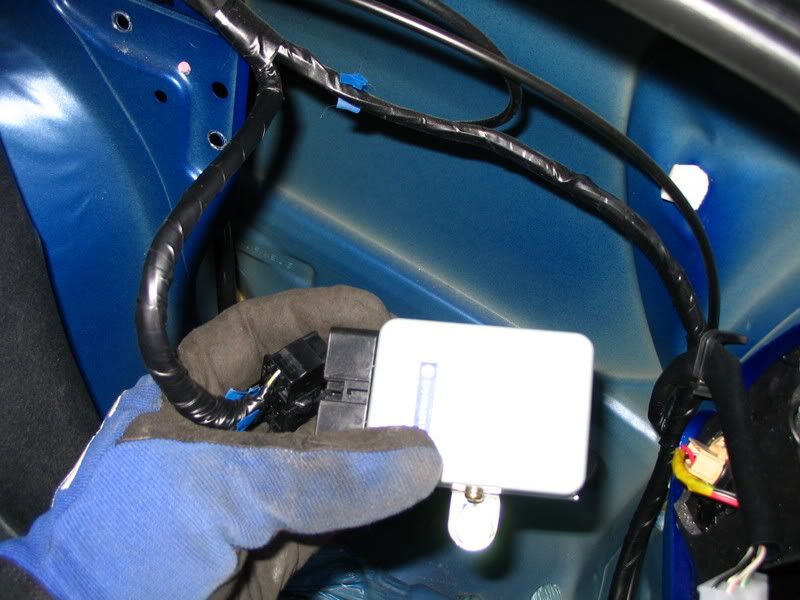
Undo the fuel controller
Now, start your car. If it doesn't turn over that's fine. If it turns over then let it run until it dies. This eliminates all of the pressure from your fuel system which will allow you to properly prime your new turbo.
Now that the car's out of fuel time to remove any of the IC piping that's in the way
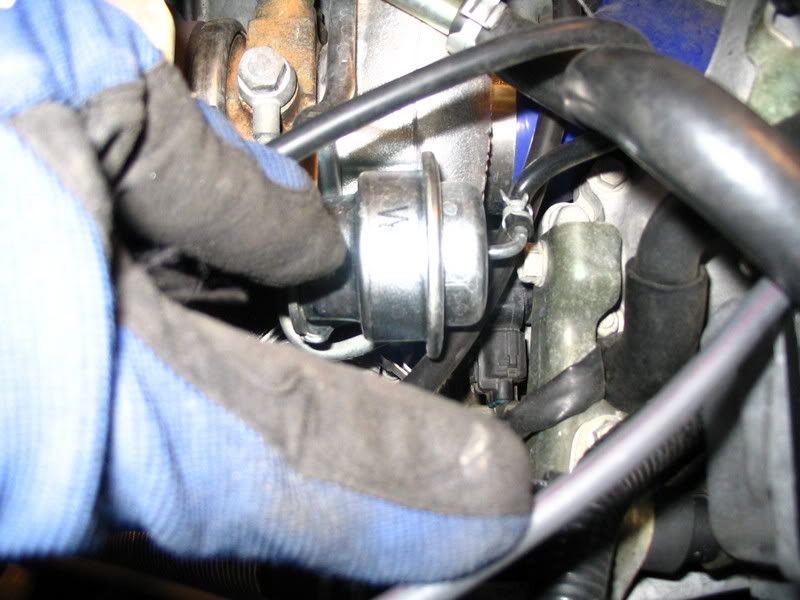
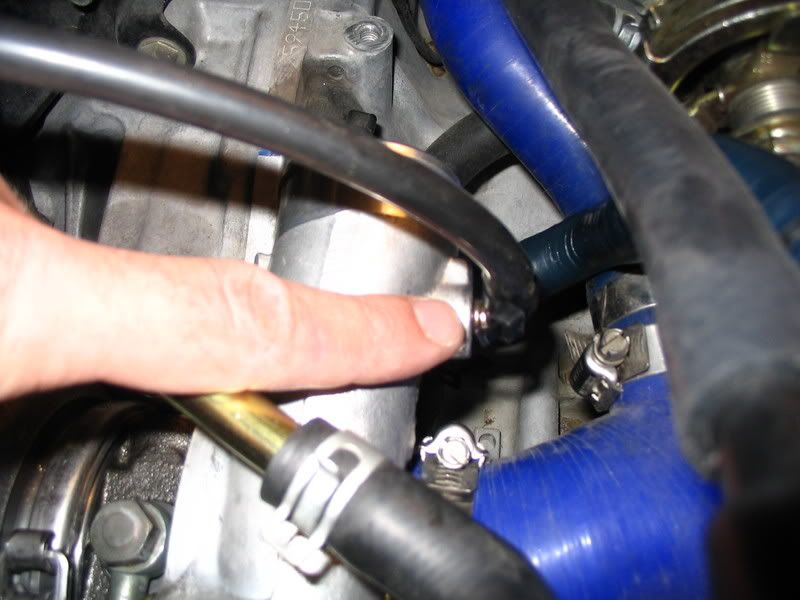
Now, pop the compressor and wastegate vacuum lines off your turbo
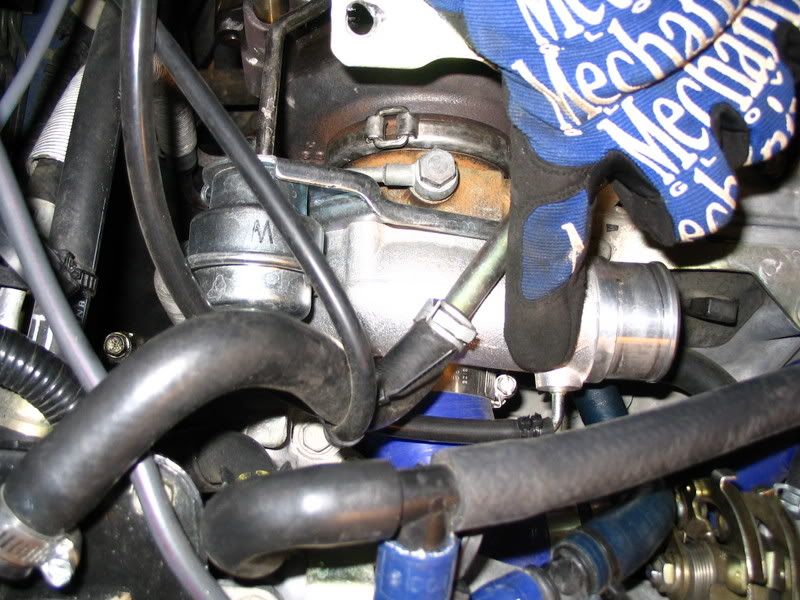
Pinchy, pinchy clip
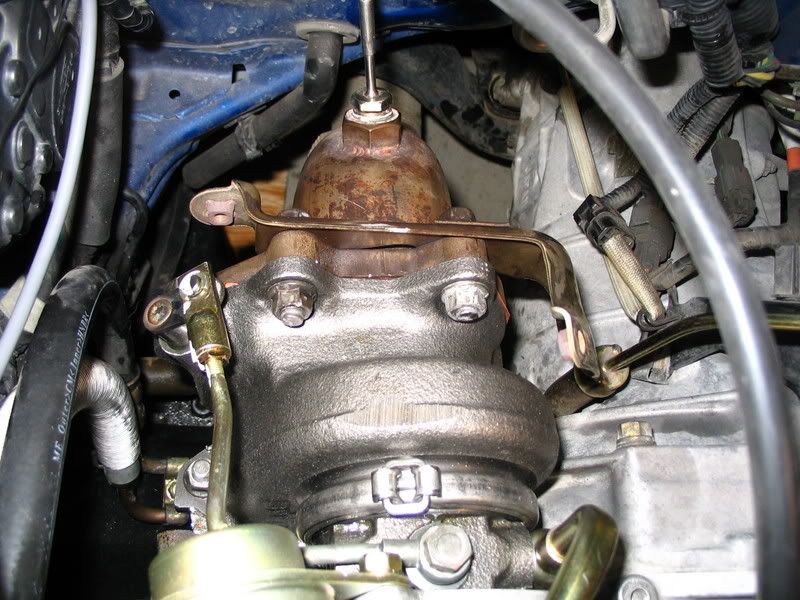
Now to get the heat shield bracket out of the way.
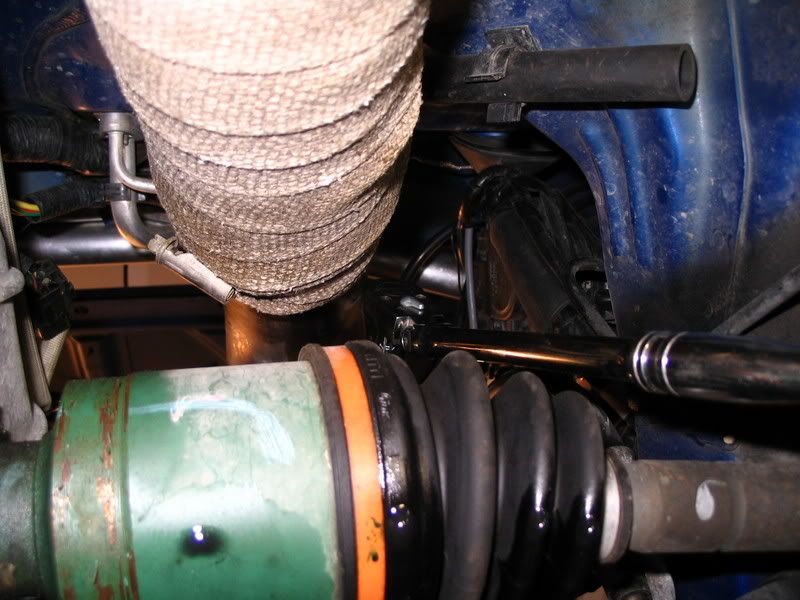
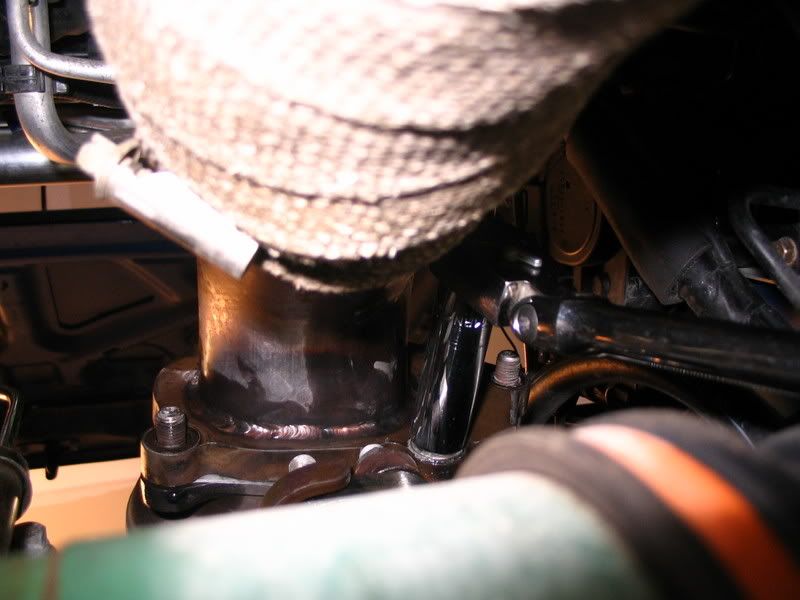
Remove the downpipe. 2 bolts on top, 2 bolts on the side (all 14mm)
and 1 bolt on the bottom. This one you'll have to get from below.
undo the do from the hanger bracket (undo it at the mid-pipe while you're at it and drop it onto a box or something so it isn't hanging by the rear O2 sensor). On a stock, or TXS dp just undo and drop the front shorty section.
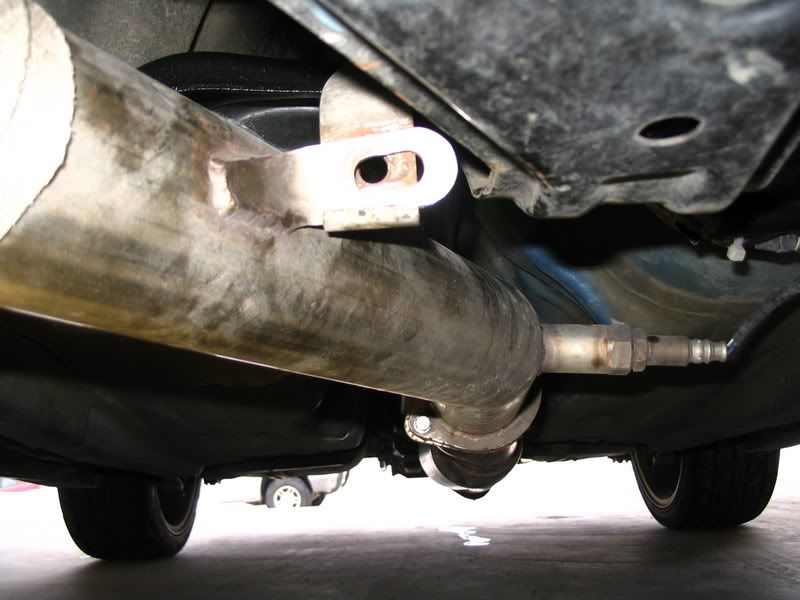
The dp is out of the way
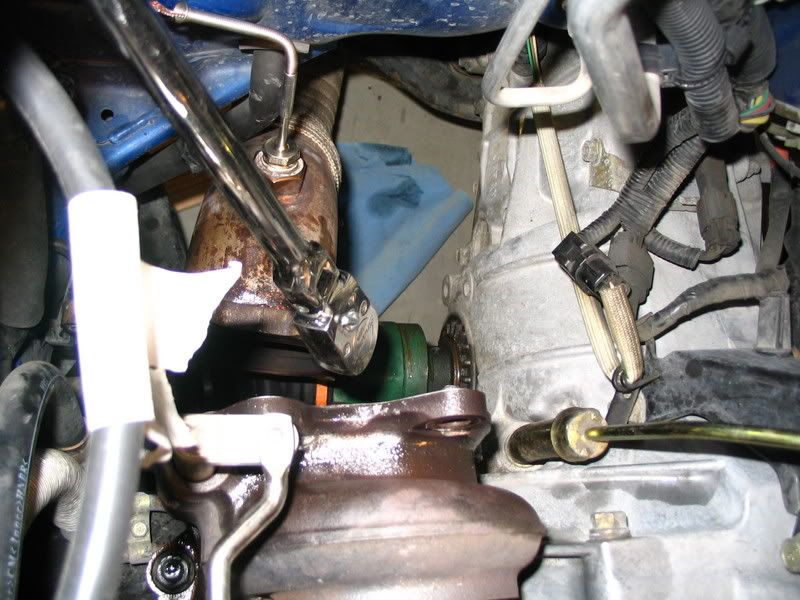
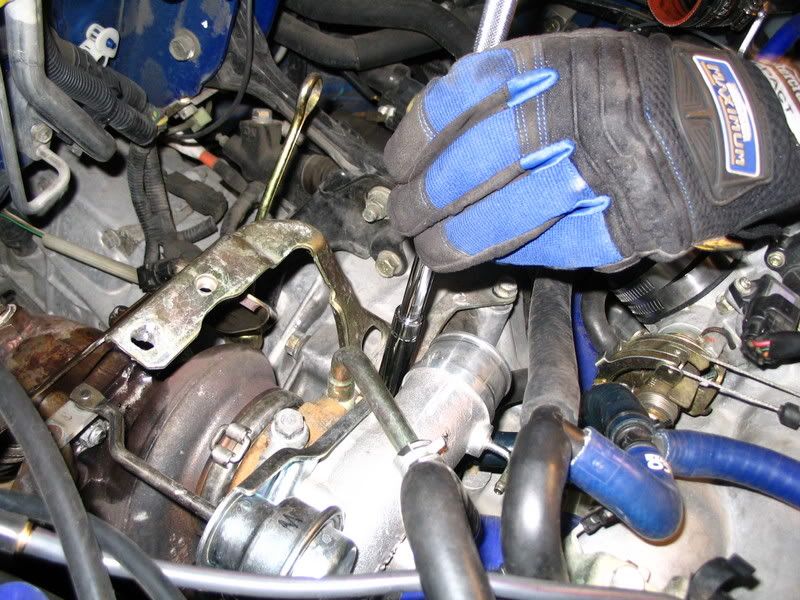
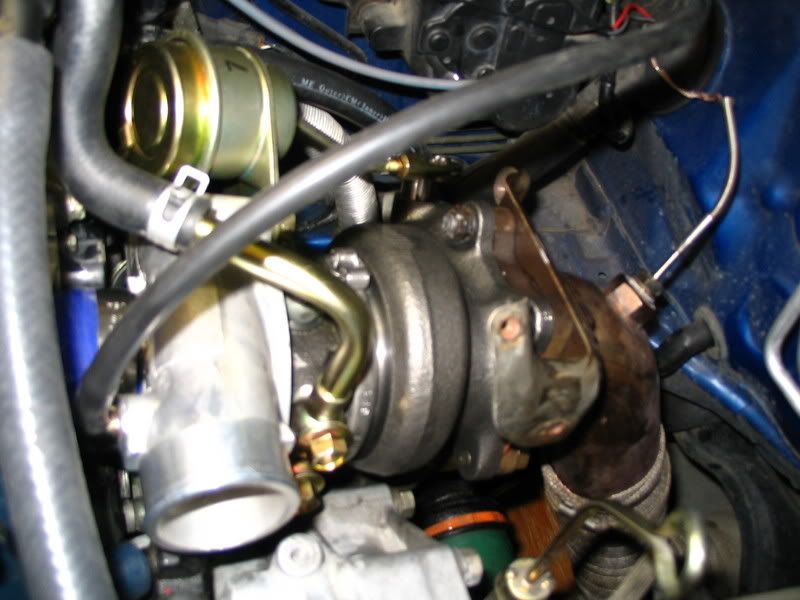
You're turbo is held down by three 14mm bolts. You can see 2 in this photo and there's one more on the other side of the turbo
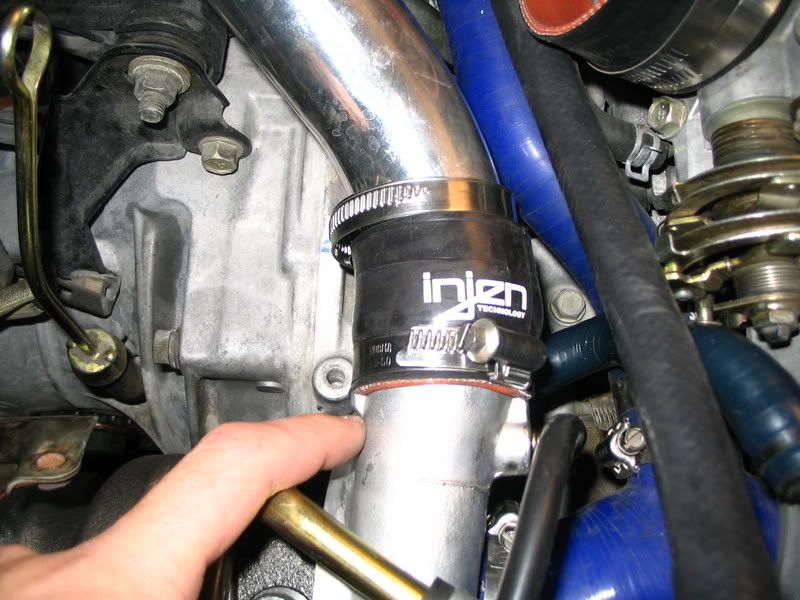
Now's a good time to loosen your inlet pipe. You may have to 'break it" from your by prying on it with a flat head screwdriver. The stock inlet is very thin and will tear rather easily so be careful (it's not a bad idea to have a spare inlet pipe on hand).

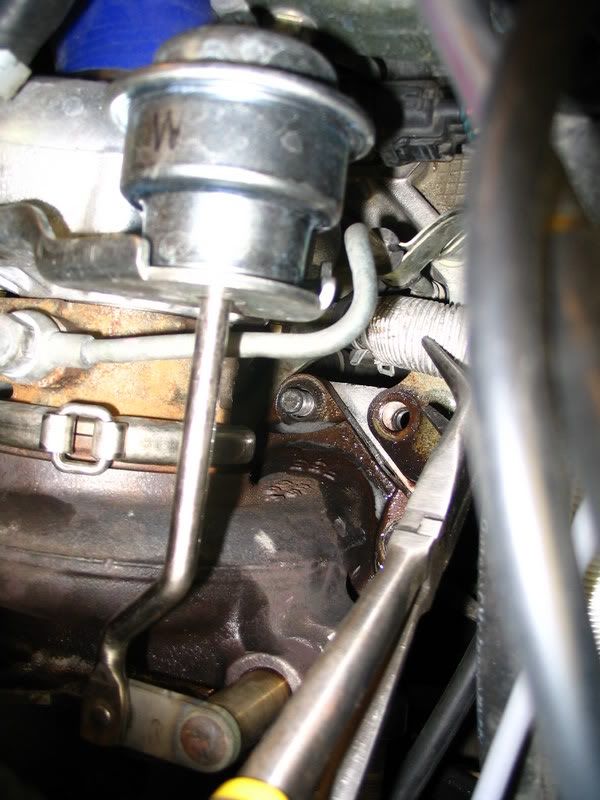
Now to get off the coolant return line (you can ignore the 3rd bolt I've taken off. I had the uppipe out, but that's another story). If you haven't drained all the coolant from your car this will leak. I chose to clamp it off and deal with the drips as we'd done a coolant flush 5,000km ago.
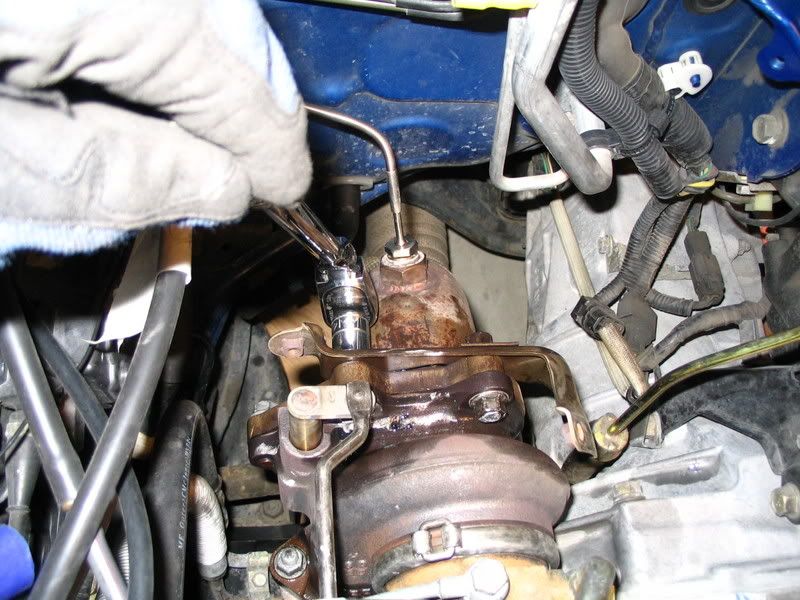
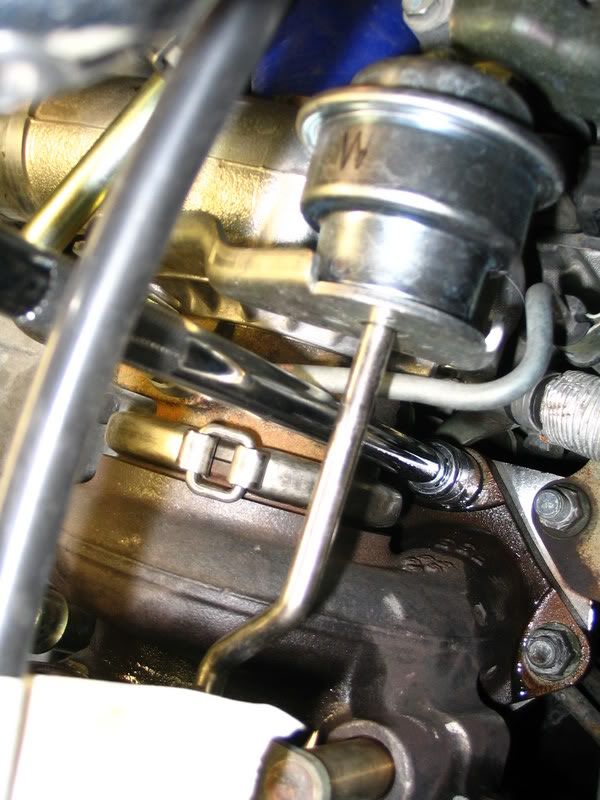
Now you can undo the oil feed line (hard line) on top of the turbo. The banjo bolt has 2 crush washers so be ready to grab the one on the bottom.
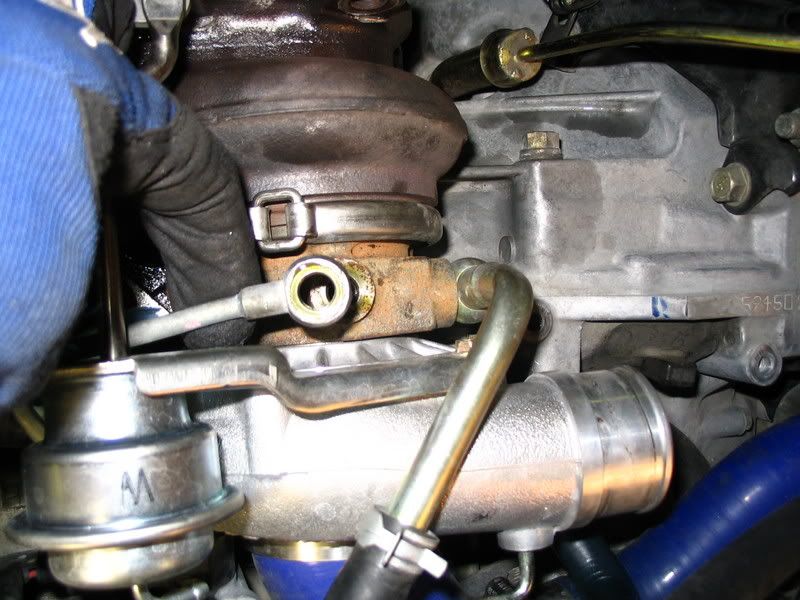
(banjo bolt)
Pop off the top coolant line and your turbo's ready to be lifted off.
Your oil return line is still attached, but pops right off so there is a little resistance when you lift the turbo off.
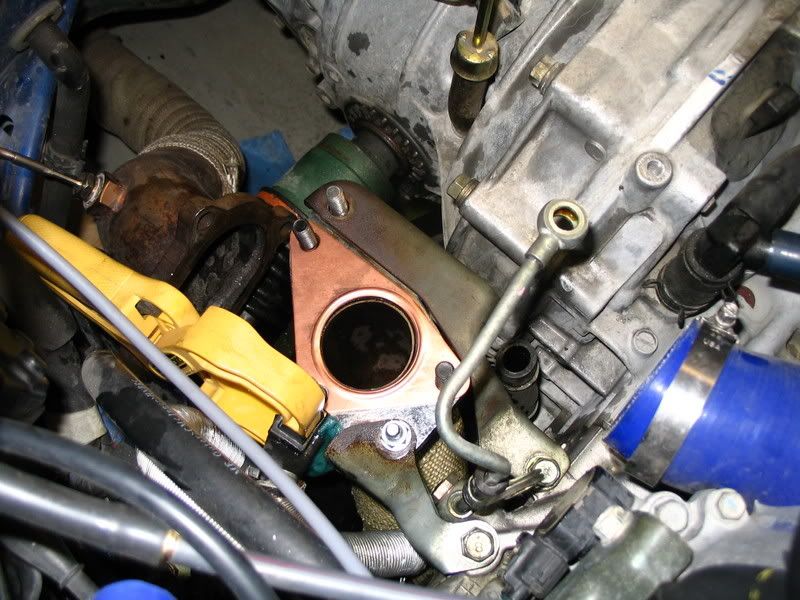
Voila! no turbo. (notice the clamped coolant return line)
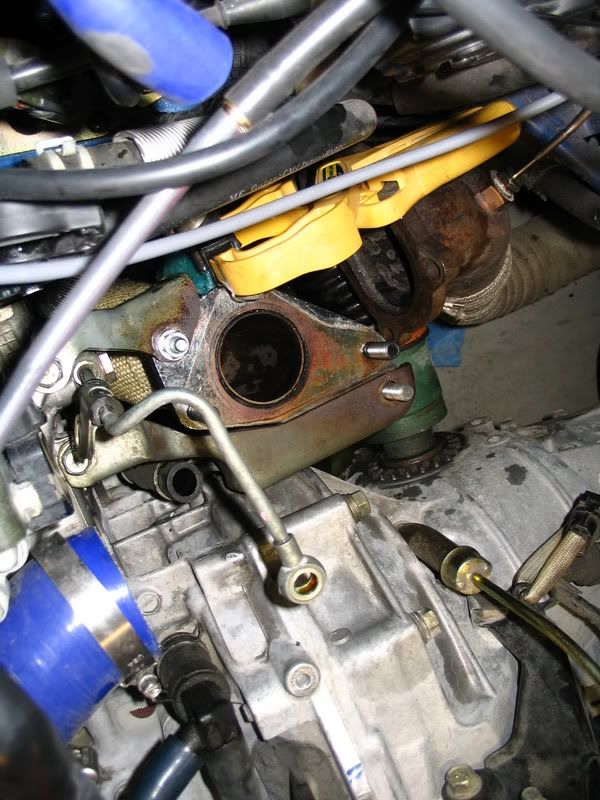
Drop on your new UP to turbo gasket (cheap insurance against leaks)
Lubricate the oil return line (It's a PITA to get on).
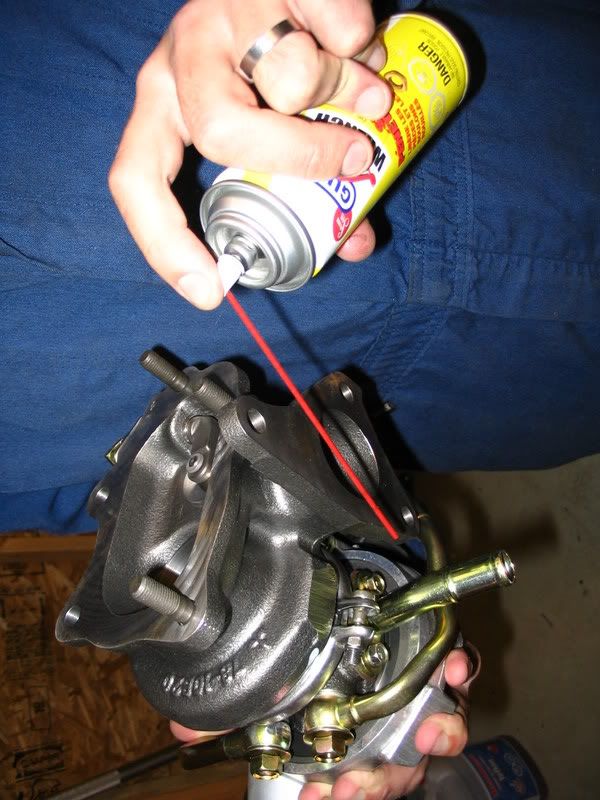
Now, this is the most difficult step of the sway, unless you had stripped uppipe studs (boo! Helix UP :bang: ) A technique that works rather well is to pull the oil return line (4"-5" hose) and tightly hose clamp it to the lowest point of the oil return line while leaving the pinch clamp for the lower potion on the hose. This way when you push it on the hose won't slide up the turbo hard line and result in a poor connection and a bad oil leak. You won't be able to see it go on so you'll have to feel for the loose-tight-loose sensation as it slides one.
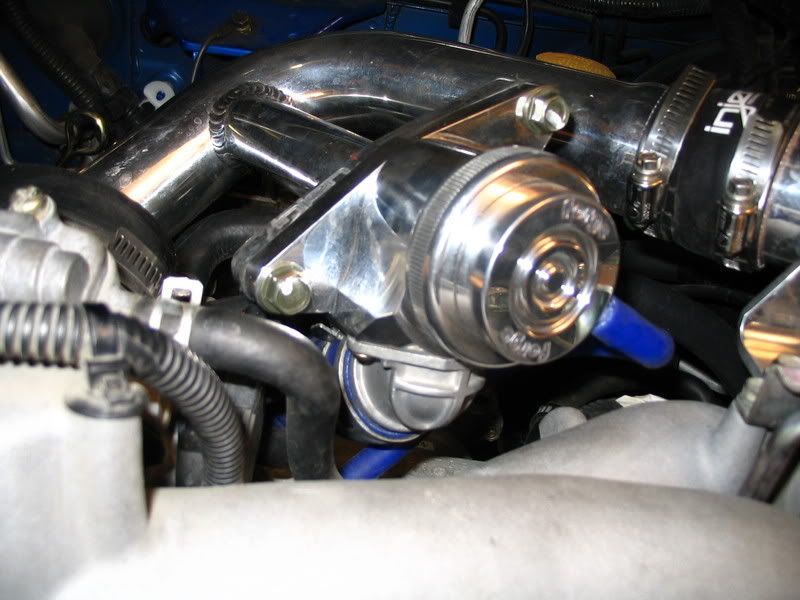
You'll want to have lubricated the compressor housing for the inlet pipe
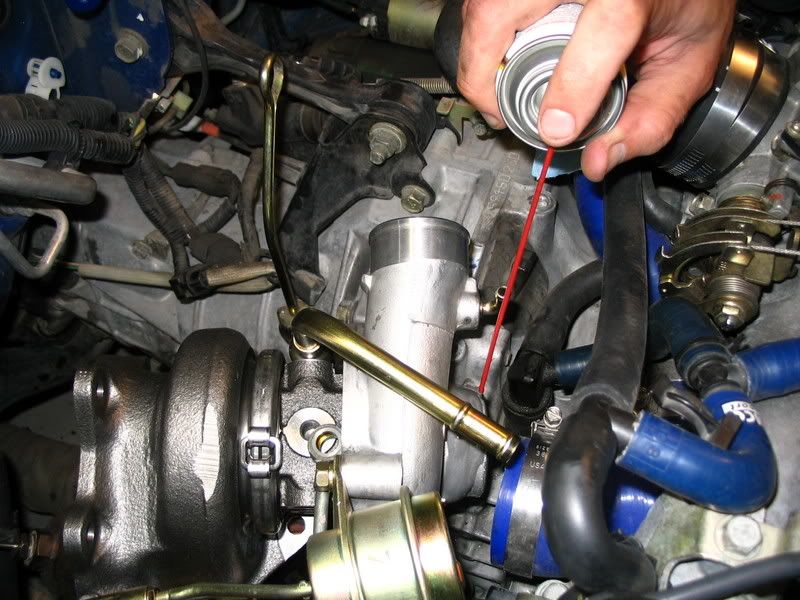
It's easier to get the oil return line on first and then pry the inlet pipe on with a flathead screwdriver. Be careful not to wreck the inlet pipe, especially the delicate stocker.
The turbo is back on ready to be reconnected
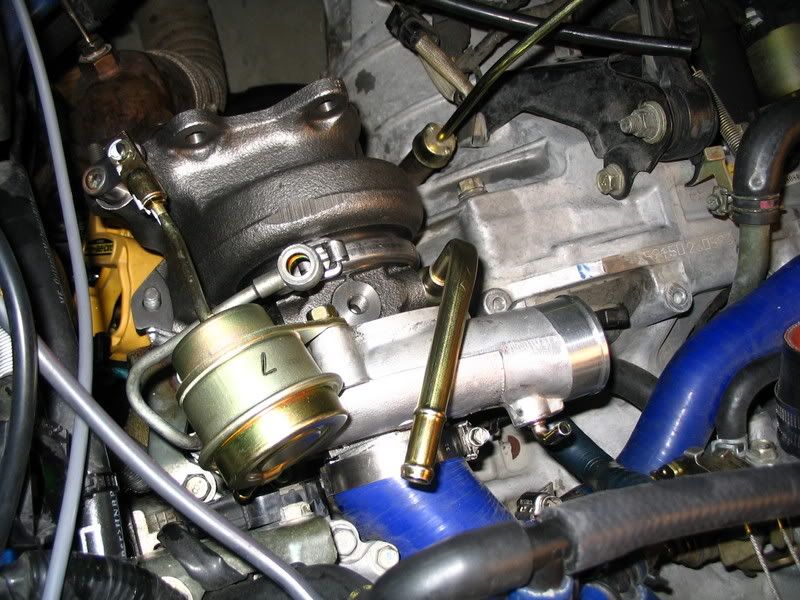
Tighten the inlet pipe hose clamp, reattach the coolant lines, oil feed line (don't forget both washers). The oil feed line may need a bit of bending depending on the new turbo but that's o.k.
You can now reattach the turbo to the UP (3 bolts). Remember the star pattern and I went with 26-32 ft/lbs (same as the exhaust manifold) but check your service manual.
Reattach your dp (don't forget the hanger and midpipe under the car

gaskets too!)
Reattach the compressor side vacuum line
A little zip tie goes a long way at mitigating the chance of a boost leak
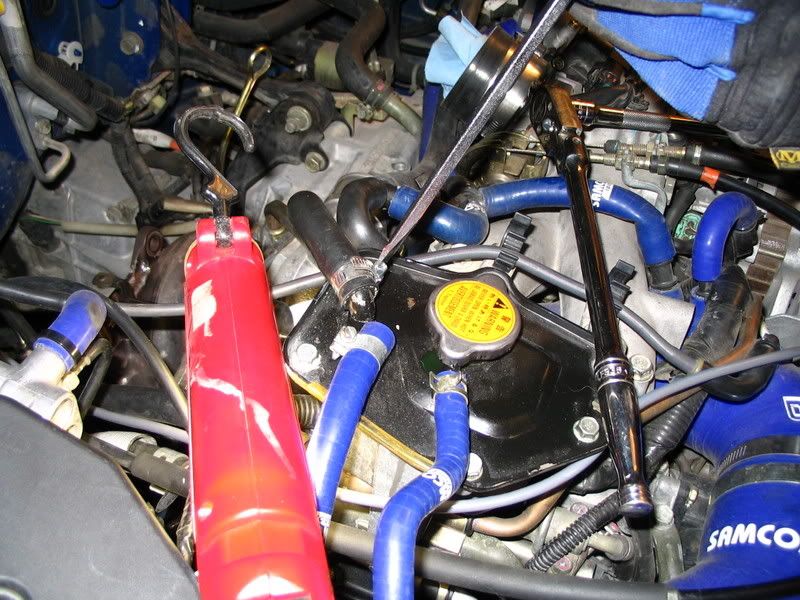
Now's as good a time as any to replace any lost coolant. Remember to "burp" the system by squeezing the upper and lower rad hoses.
If you see some temp spikes when you fire the car up its probably air in the system so just burp and replace again after the coolant has moved around a little.
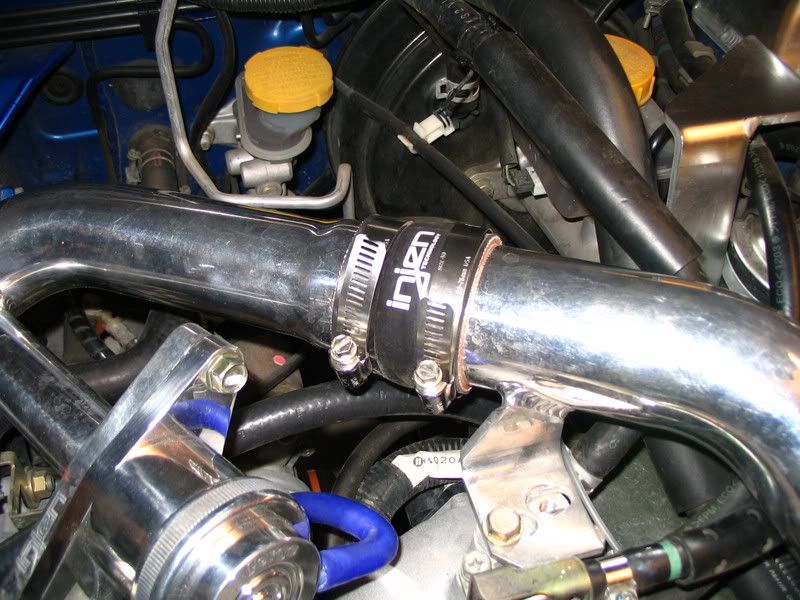
Reattach your IC piping. Make sure it's a tight fit and it isn't slipping off the bottom or anything.
Reattach you BPV
More IC connections (if you have 'em)
heat shield bracket and final IC pipe back on
Done and done! Leave the heat shield off for now as it's much easier to check for leaks without it in the way

Now, reflash your car but do not plug your fuel controller back in yet
You MUST follow proper priming procedures or you'll probably blow your turbo while the car is still on jack stands.
1.crank the car over 3-5 times for 10-20 seconds each time. It will not fire without fuel.
2. Plug the fuel controller back in (remember the trunk)
3. Start the car and let it idle for 10-15 minutes without applying any gas whatsoever.
As the car is running check for any leaks (coolant and oil from below are the most likely). It's also mighty handy to spray some water on the base of the turbo and around the dp. Bubbles mean you've got a leak. However, after the car as ran for 10-15 minutes, let it all cool down (this takes a while) and then check again. Chances are, with a heat cycle your new gaskets will have expanded to fill the tiny cracks and close the leak(s).


