Sadly, I did not take many photos of the Forester in the first few months of ownership, and of course, the photos that were taken, were taken from the good old cell phone.
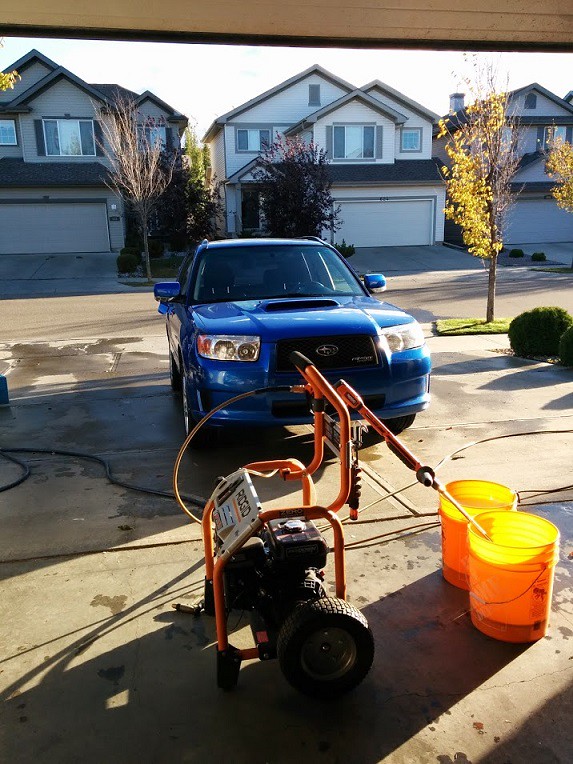
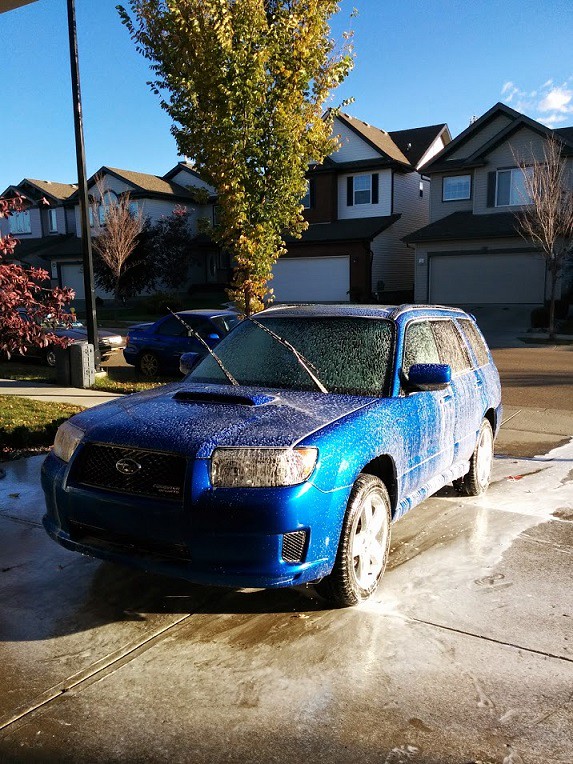
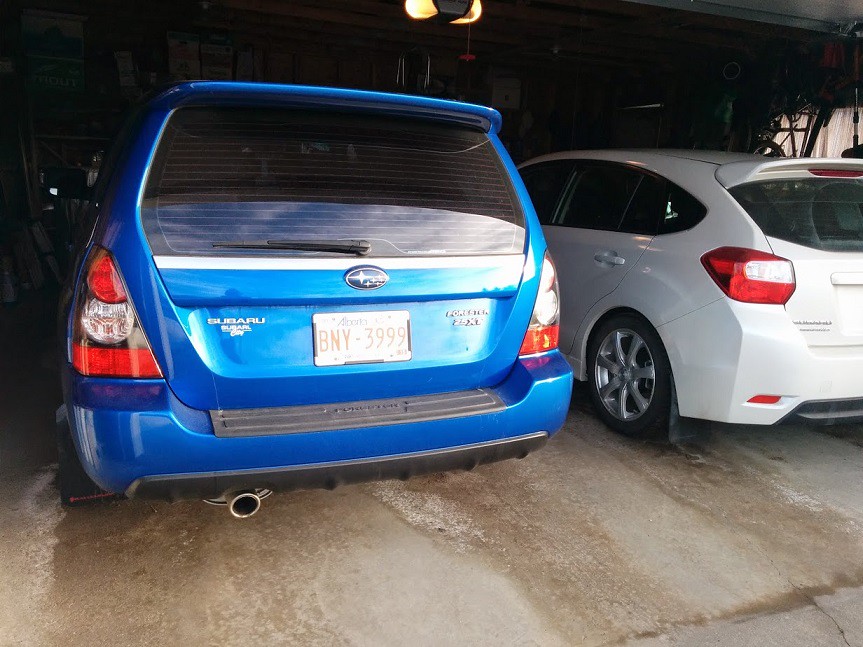
October 3-4, 2014One of the first photos taken was during the first night out with the Fozzy when I took it out to visit my friend and his awesome WRB Bugeye. We spent the following Saturday washing the car and I’m pretty sure it was probably the first two bucket wash the Foz has had in a long while, or ever.

 October 10, 2014
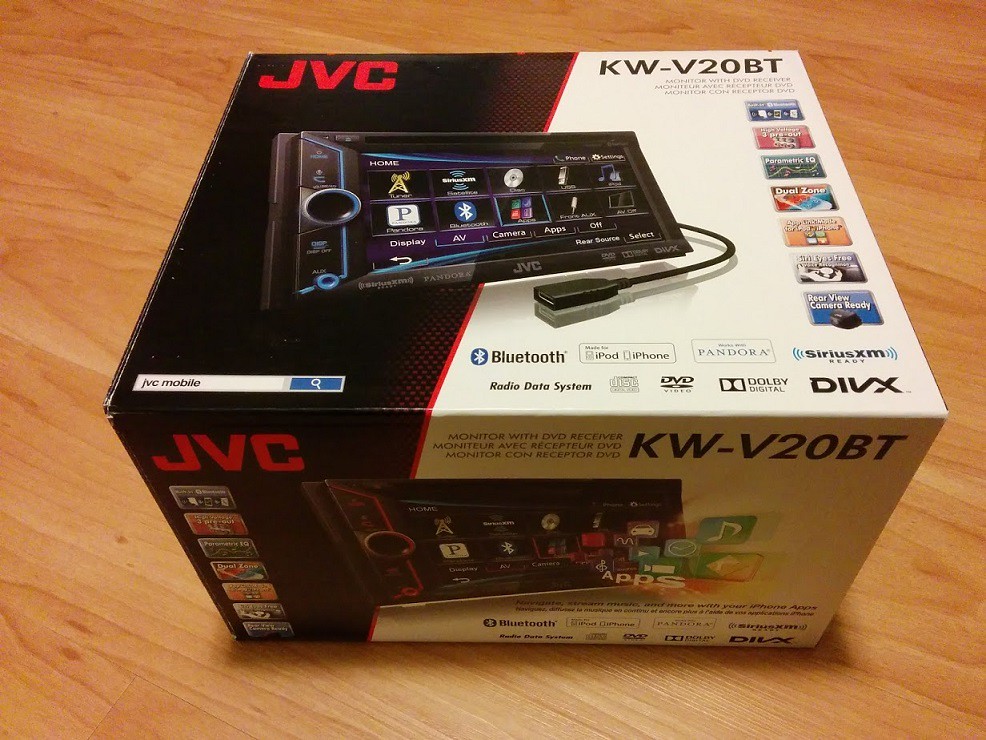
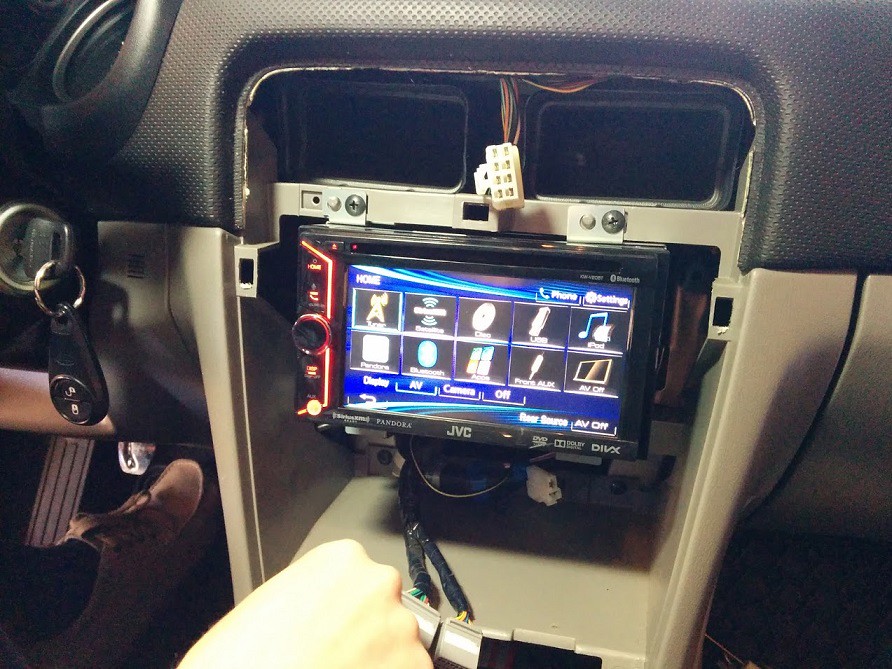
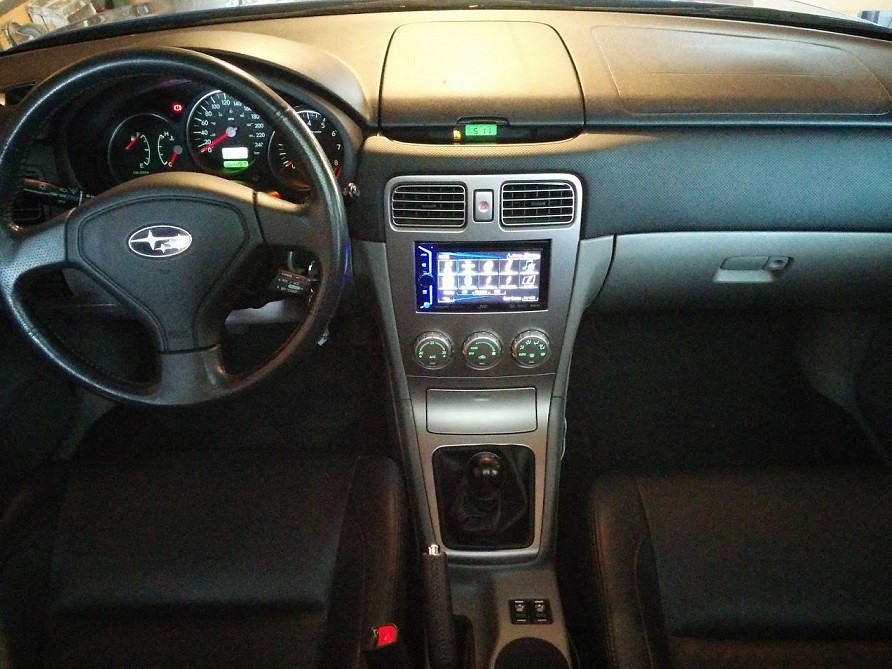
One of the first “mods” completed on the forester was upgrading the stereo in the car. It was pretty obvious the stock head unit was not pushing out enough power to have adequate sound as any audio sounded super mono. Ended up purchasing a JVC KW-V20BT double din HU as it was cheap, and it had all the functions I needed/wanted (Bluetooth, hands free, 6.1” touch screen, USB capable and Apple iPod ready.) I found the unit perfect for me as the placement/size of buttons as well as the icons looked most normal as compared to the other double din’s on the market. Installation was quick, and of course, had to get the Subaru Specific stereo harness for the unit from Certified Radio, but once it was all installed, it was just a nice feature to have hands free in the vehicle as well as decent audio output.

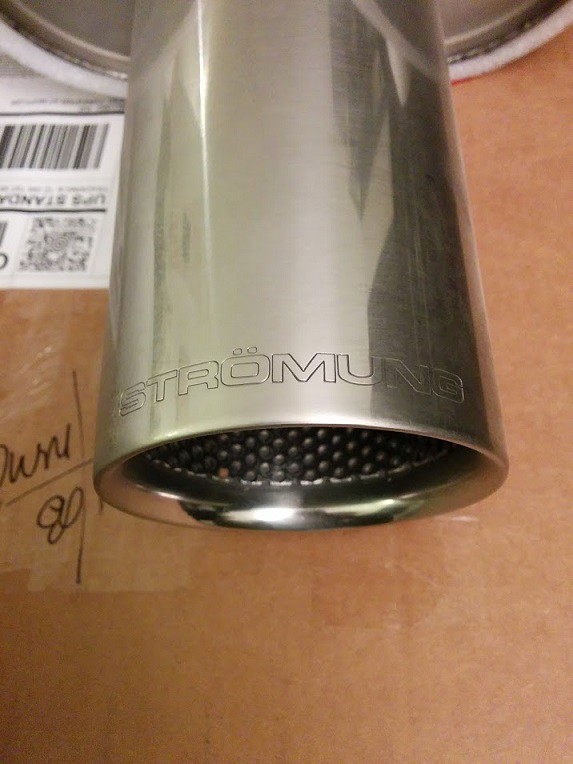
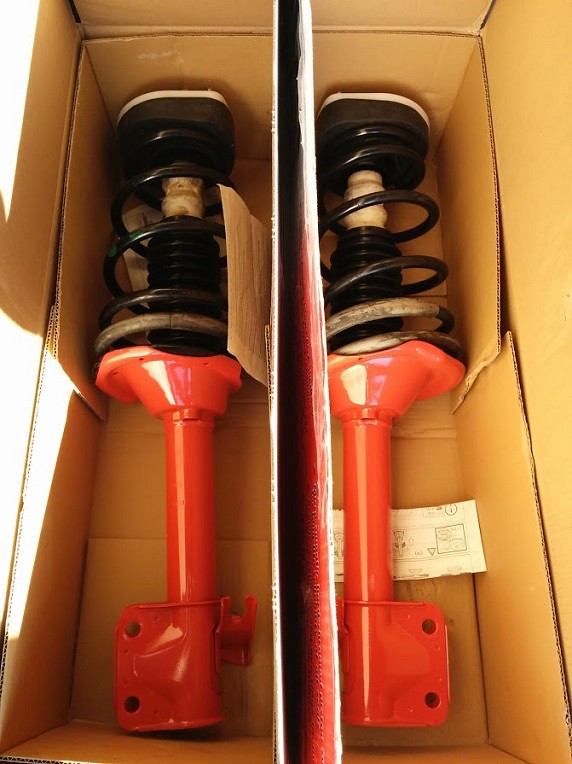
 November 7-14, 2014
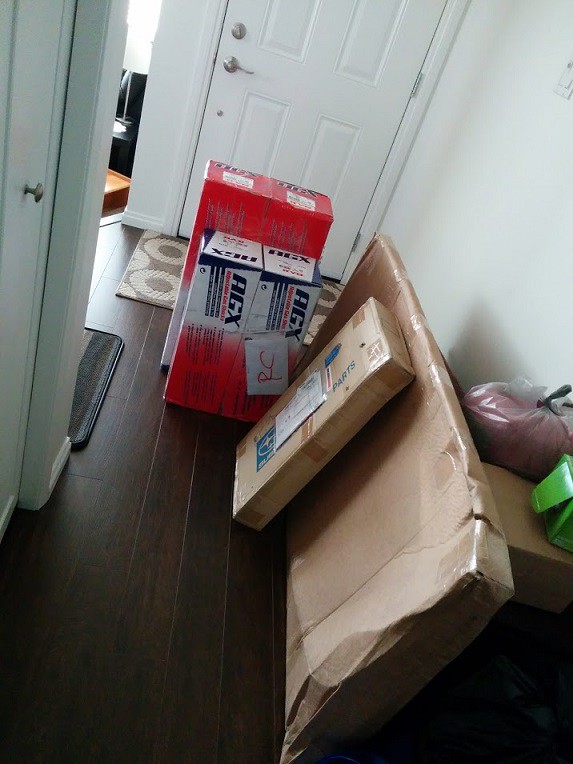
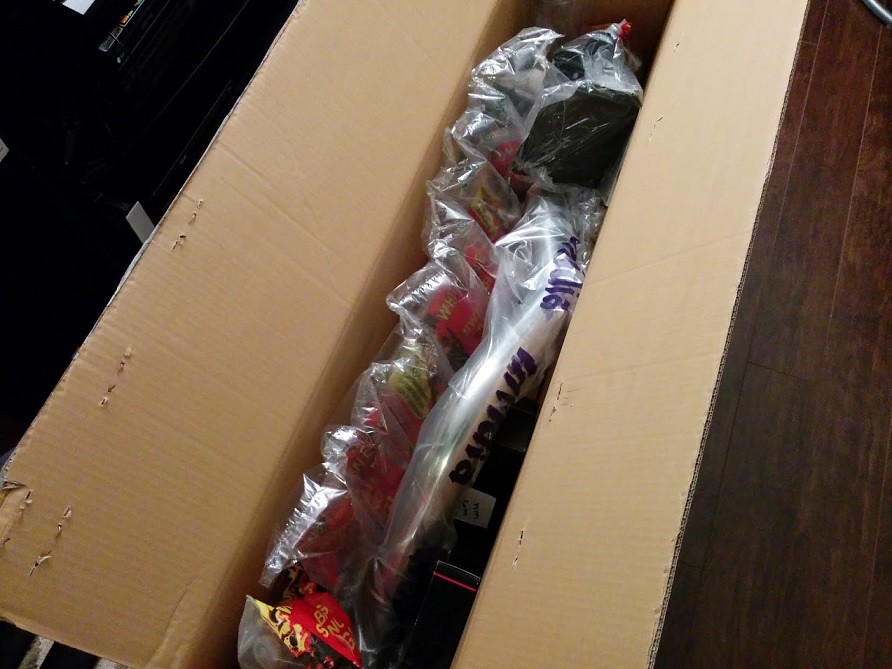
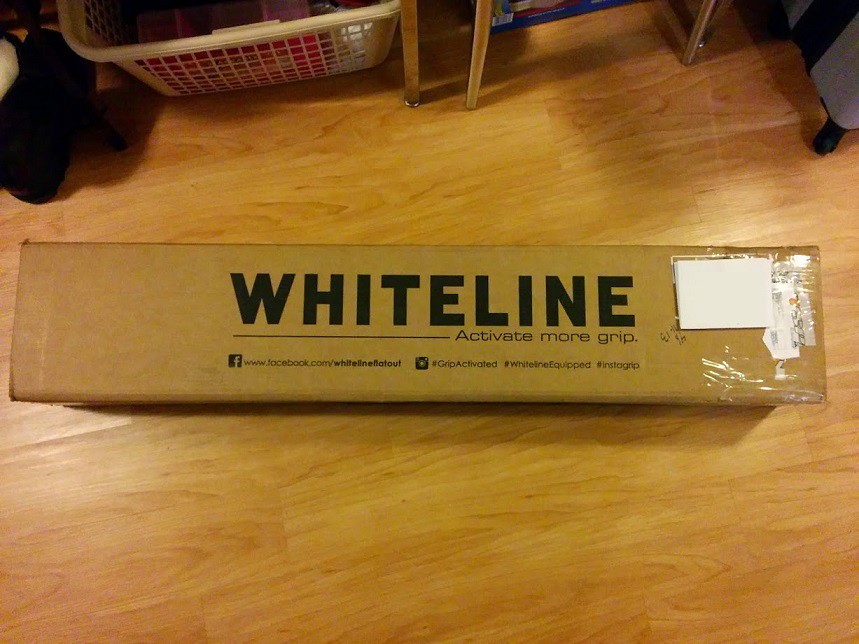
Finally had a lot of the parts delivered, and was pretty stoked to have boxes on boxes delivered to my door. Struts, front lip, hood scoop, Invidia downpipe, sway bars, and most of the suspension parts arrived one after another. But there was one box in particular that I was just dying to receive, and it was the exhaust! Decided on the Stromung catback as I didn’t want it super loud, yet I still wanted some good, noticeable, boxer rumble. Plus, I didn’t want to isspay off my neighbors, and it’ll be loud enough during those cold winter starts. Lucked out when I purchased it at the time that I did as the dollar was still reasonable at the time, but hey, it was well worth it now that I have it installed. Made myself look bad in purchasing the double din unit as I had a grin ear-to-ear for weeks from making music myself after the exhaust was installed.

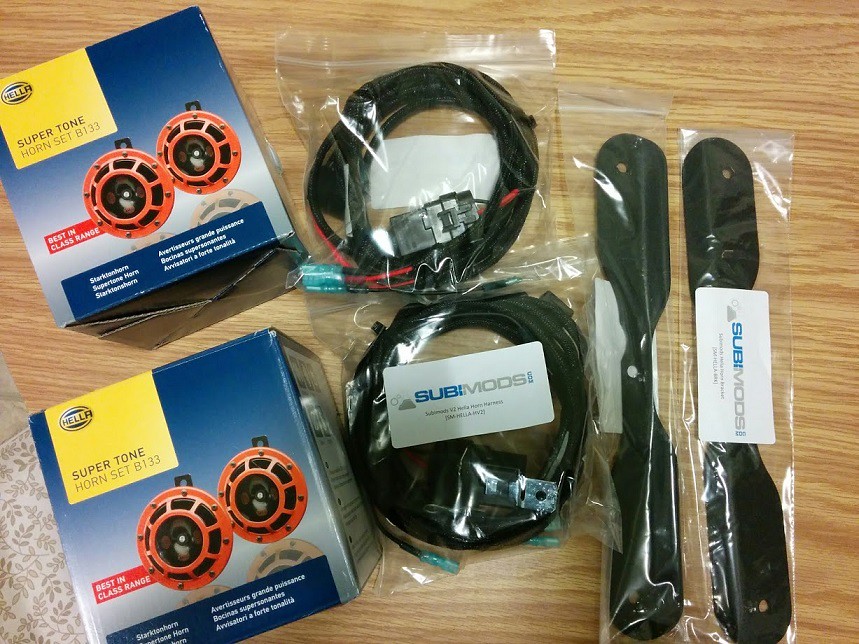
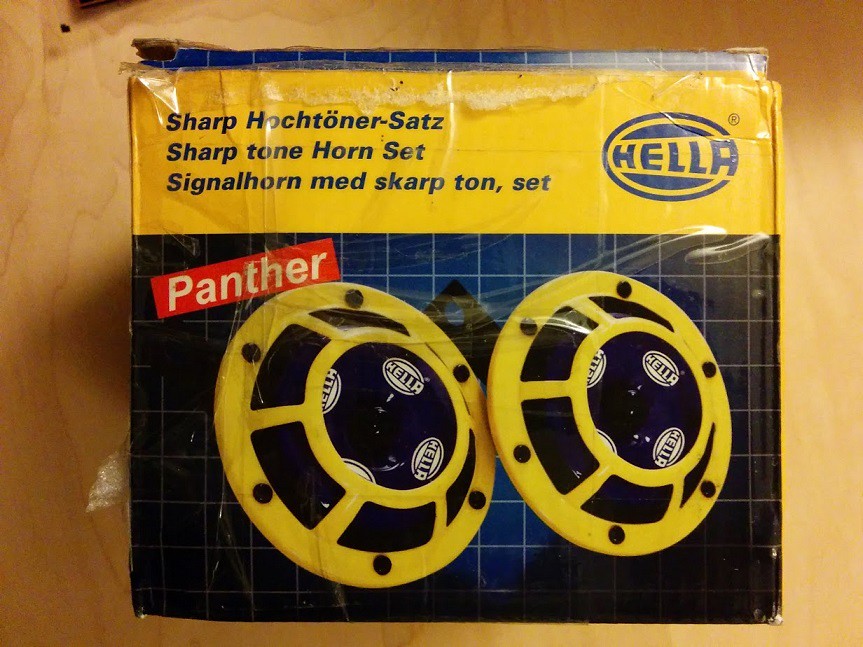
 December 3, 2014
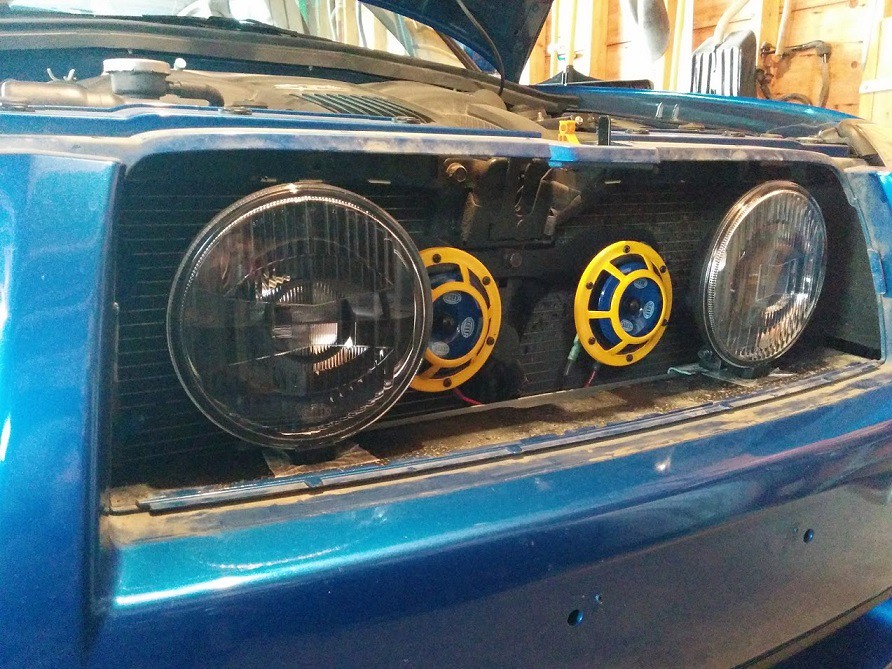
More parts shipped and arrived! Subimods had a “sale” and took advantage in getting some hella horns. At the time, the bundle included the harness and mounting bracket so it was nice to have all three items together. I wanted to get the horns as I honestly thought the stock horns sounded very wimpy, and what better choice than to go to some hellas which you can definitely grab drivers attention when you honk at them. Oddly enough, as I was a fan of the loudness of the horns, I was not a fan of the “German-esque” tone the Hella Supertone emitted so I swapped it for some Sharptones for a more “deeper” “North American” tone.
 March 10, 2015
I missed getting photos of the install of Rally Armors, but I’m sure we all know what Rally Armors are and how they’re installed. Aside from Rally Armors as the first exterior “mod” done, I had to change the tail lights. I didn’t really like the chrome look in the rear as I thought it attracted too much attention… (the irony... ) In all honesty, I just didn’t like how the chrome looked. So picked up some blacked out tail lights and swapped out the chrome!

 April 2015 – June 2015
Now that spring has arrived, it was time to get started on the "major" transformation. Sadly, I did not take any photos during the suspension swap, and if I did, it would have just been photos of the car on jack stands in the garage. With wanting to do most of the work myself, I had limited success as being a regular Joe, I did not have most of the tools/resources/knowledge/skills to get the job done in a quick/efficient matter, and most importantly, have it done correctly. But, I had a lot of help from family and friends which were a bonus as multiple minds working together are better than one. Also, finding time to work on the vehicle outside of work was a bit of a challenge as well.
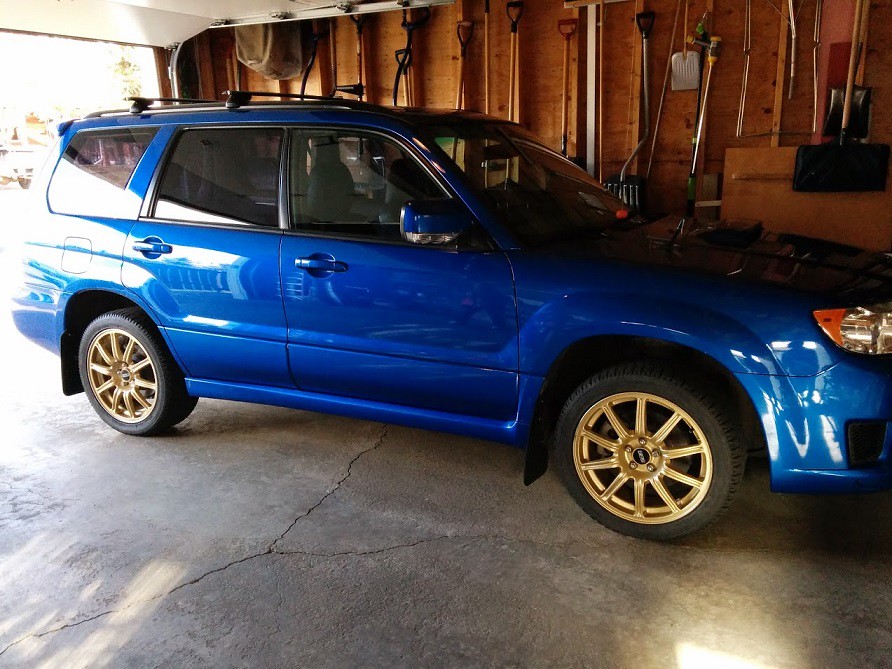
First thing to do in the spring was to lower the Forester. Had the April 4, 2015 weekend circled on my calendar since Christmas of 2014, and luckily weather was cooperative that weekend, as well as it was a Easter long. But, let’s get to the important matter – let’s see the results! Below are photos of the before and after:

Unfortunately I do not recall the EXACT measurement but
stock height should be was around: Front:• Centre wheel cap to wheel well was
17.0” and
• Ground to wheel well was approximately
28.75” Rear:• Centre wheel cap to wheel well was
17.0” • Ground to wheel well was approximately
27.75”(If someone wouldn't mind measuring their stock height on their SG9 that would be awesome, thanks!)
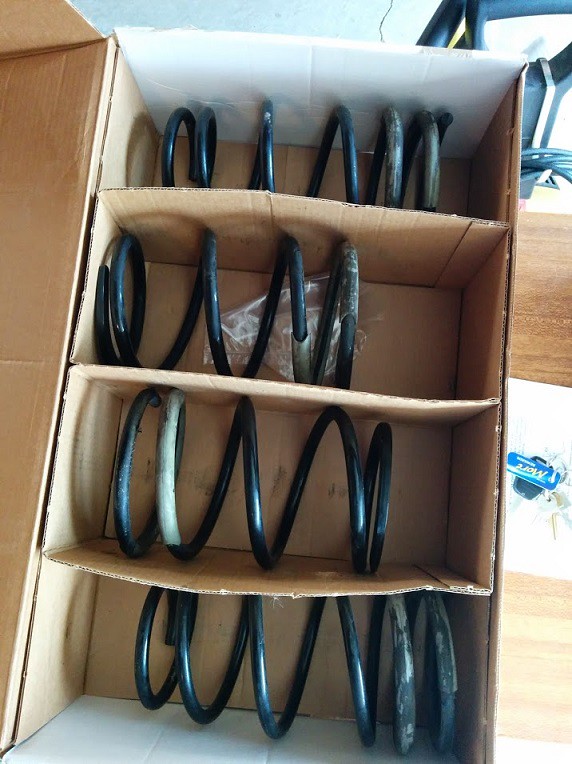
*EDIT: Stock measurements above were attained from a stock 2007 FXT.After the suspension install with 3/8” saggy butt spacers, with the STi Springs settling, and running on
Michelin Pilot Sport A/S 3 - (235/45/R17), measurements now stand at:
Front:• Centre wheel cap to wheel well at
14.5” and
• Ground to wheel well at approximately
26.25” Rear:• Centre wheel cap to wheel well at
14.0” • Ground to wheel well at approximately
26.0” The front bumper sits about 8" off of the ground, with one of the plastic guards in front of the wheels measuring about 7" from the ground.
*The KYB AGX with STi springs set up should result in an approximate 2.5” drop in the front and 2.75” drop in the rear as per the guide I followed on subaruforester.org. June 19, 2015I had the majority of the work done (specifically the rear suspension) by the help of a fellow WSC member (Thank you again!) as I did not have the resources to tackle the job. The lateral links were a pain, and at this point I just wanted the car to be done. As you can see here with the stock rear struts, there was so much room in that wheel well a family of kittens could have called that rear wheel well home, or birds... or squirrels.. or [enter animal here.]
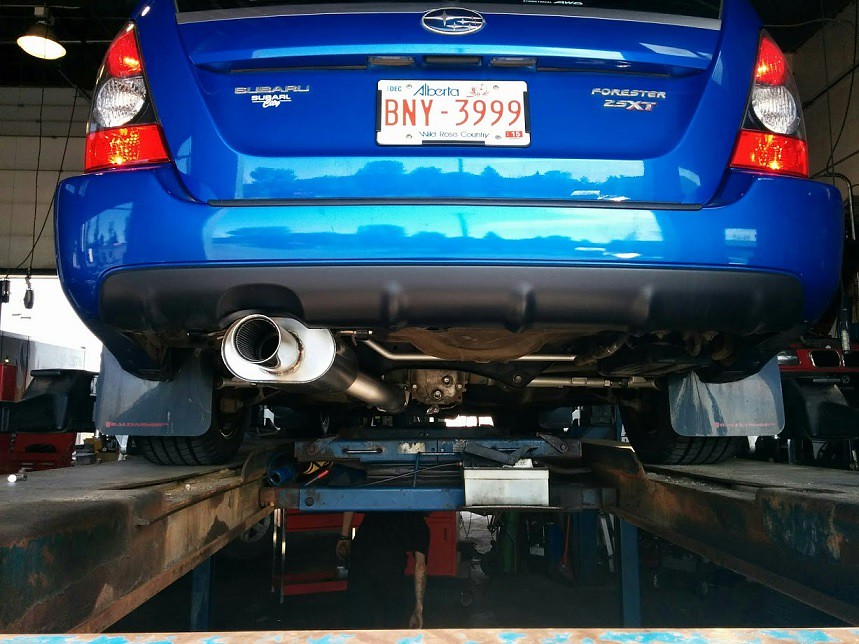
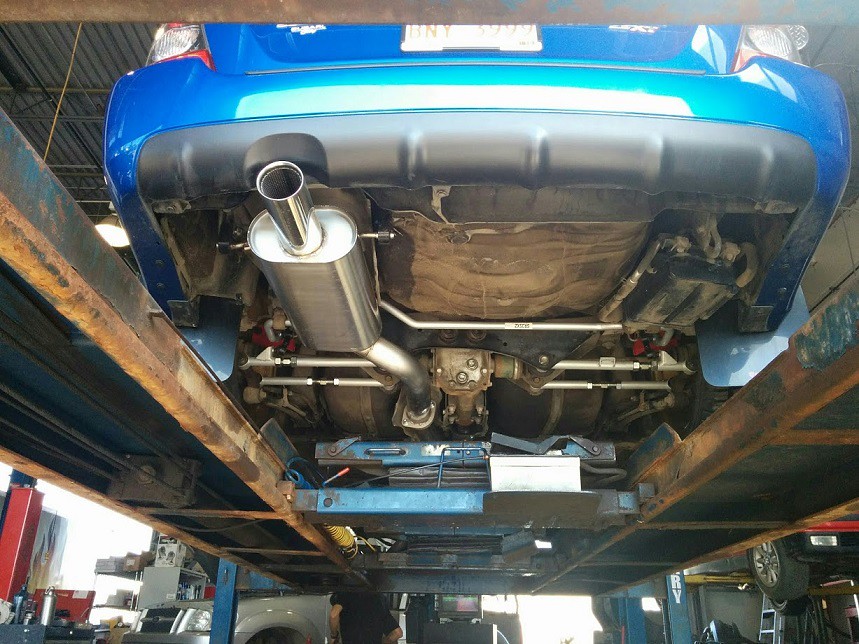
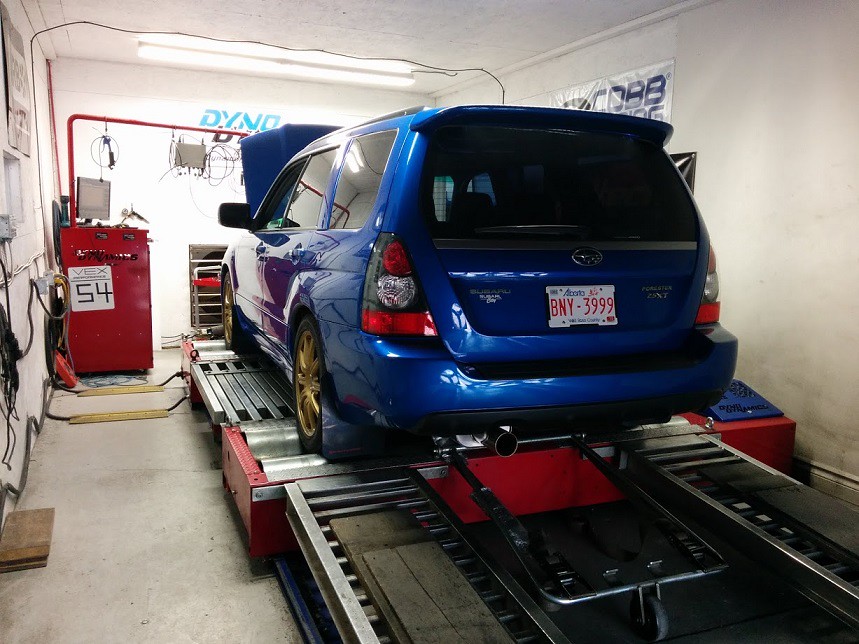
 July 2, 2015
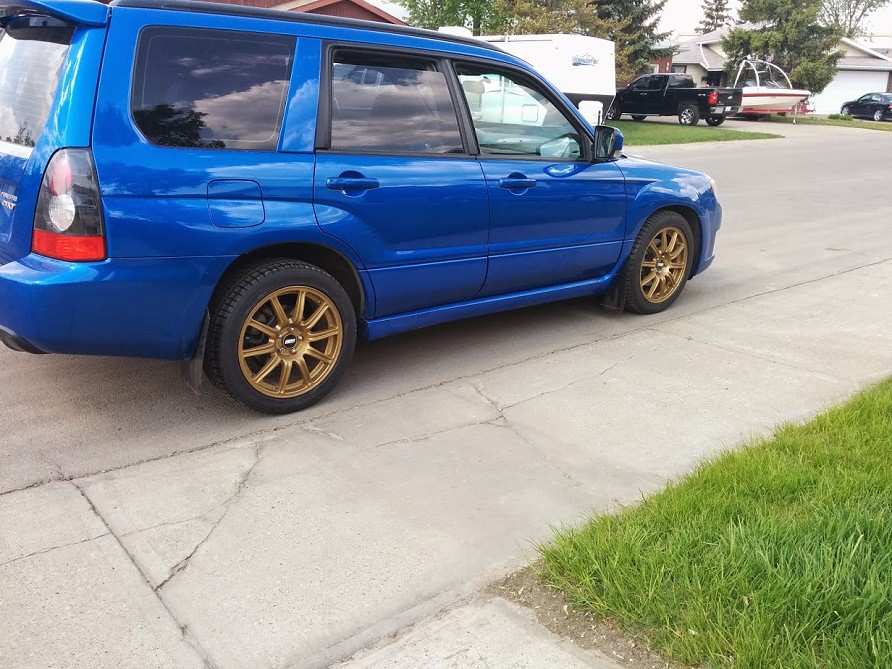
Once all the goodies were installed an appointment booking with Sunny was immediately scheduled. But first, had to get the car aligned so I could make it down the QE2 without having my hands at the 11 and 4 O’clock position. Snapped some photos of the rear of the car and can see most of the upgraded rear suspension bits, as well as the Stromung exhaust while it is still relatively clean.

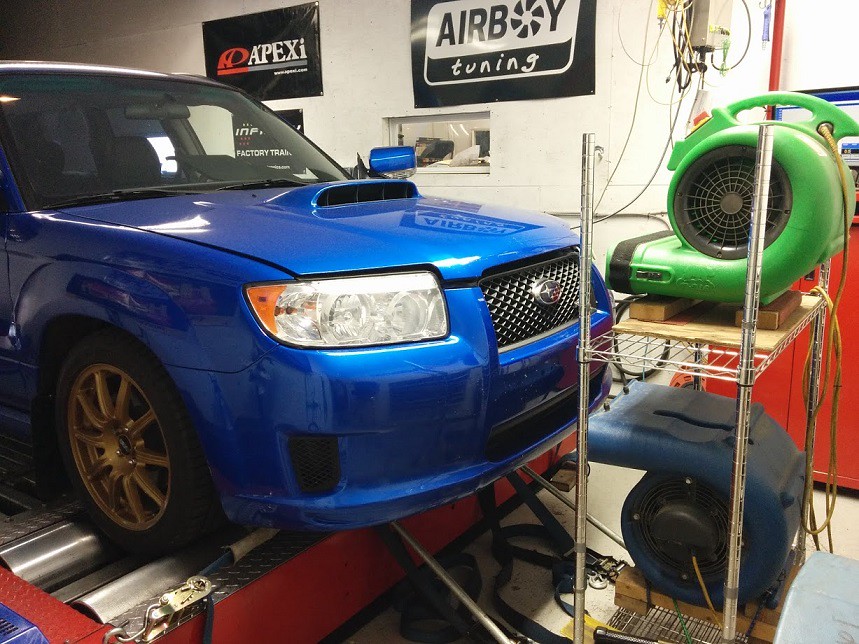
 July 10, 2015
Dyno Day! Got down to Airboy to visit Sunny for the tune and he did a fantastic job. Nothing but great things to say about him as he diligently went through the car for the tune. I honestly did not know what to expect out of the process as it was my first time experiencing something like this. Didn’t know what to expect for final numbers out of the tune either, but at the end of the day, the number is just a number. I told Sunny my goals for the vehicle and asked him to work his magic, so he helped create the best daily driver tune for the fozzy and as a result -
191whp and 262wtq. 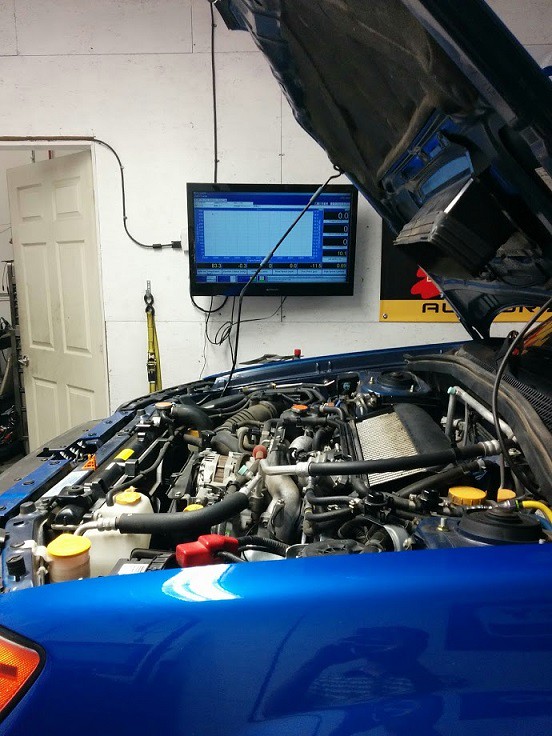
 September 19, 2015
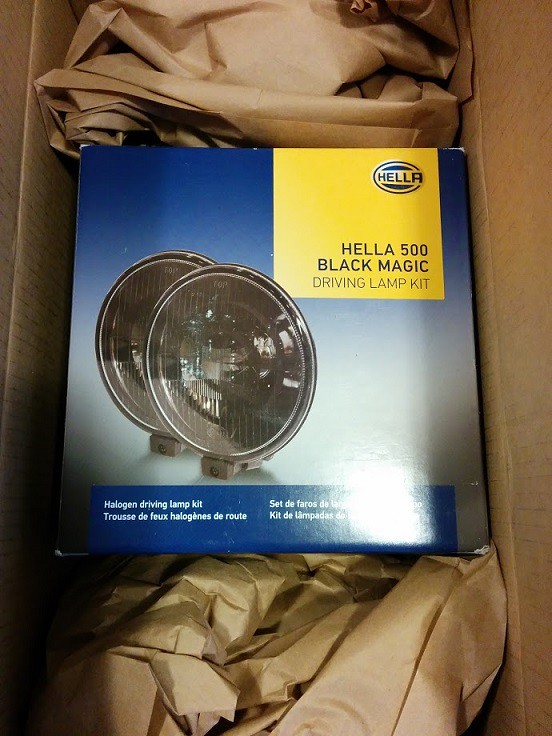
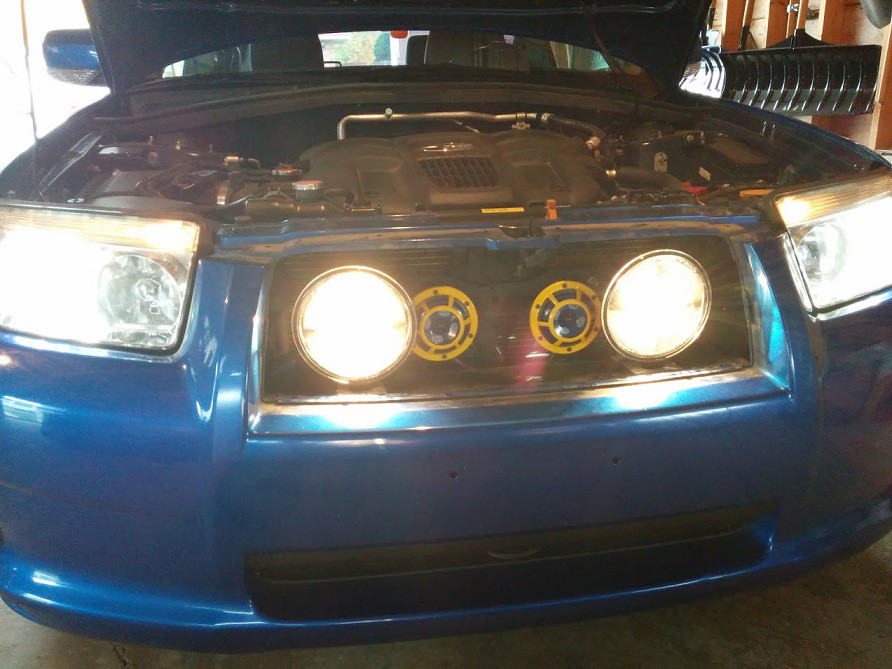
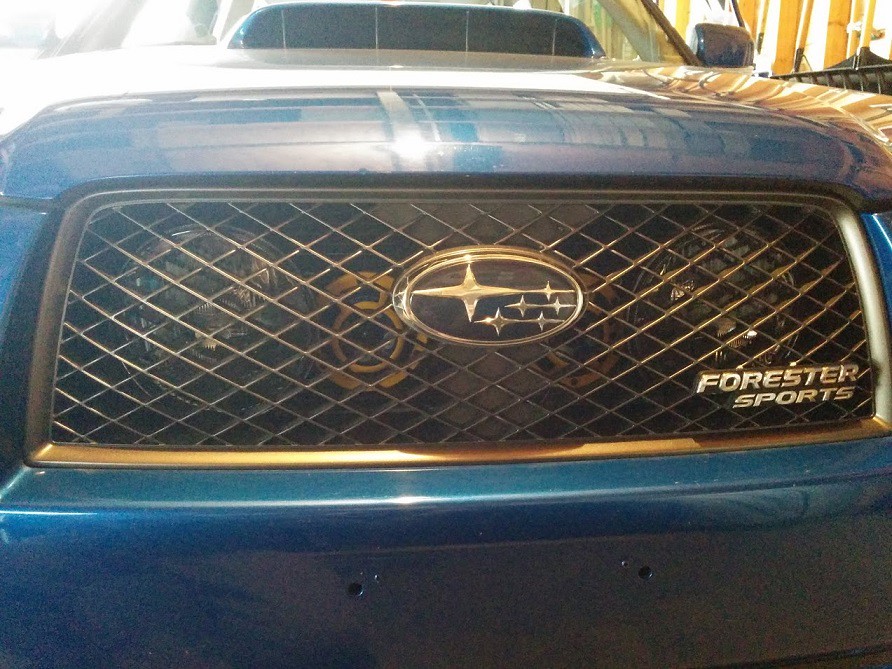
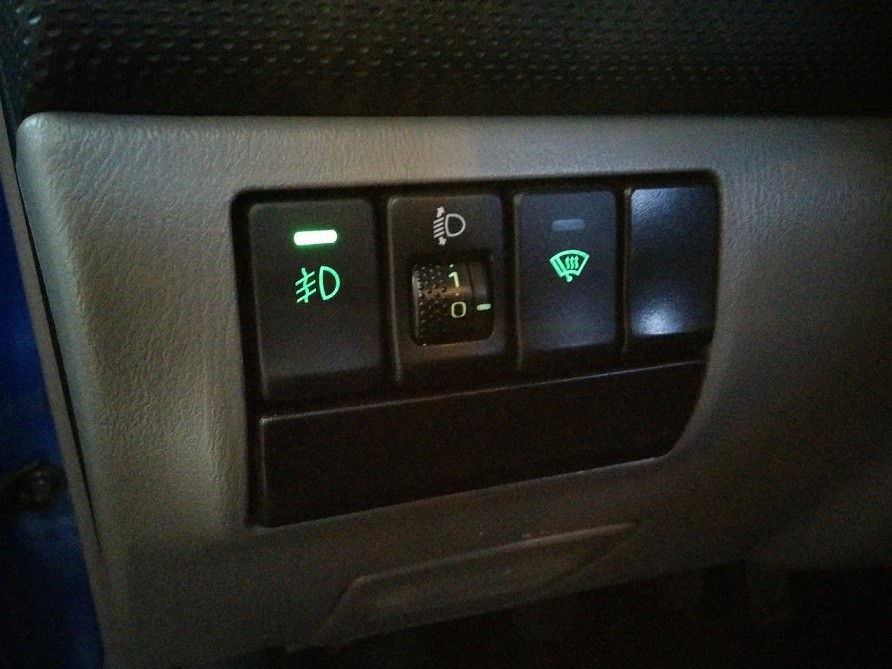
Now that the Forester is tuned and I have driven it for a few months now, it is basically complete for me. There was one thing missing that I wanted to do which was to add the hella driving lamps because the FSXT did not have fog lamps. I came across the hella black magic driving lamps and as I wanted to mount them behind the grille as there was so much room back there. I also liked the fact that the black magic has a black housing to keep the lights a little more discrete... or at least I think it does.
I followed a guide from subaruforester.org (
http://www.subaruforester.org/vbulletin/f85/internal-aluminum-light-bar-my03-08-build-thread-67412/) and it worked perfectly. In summary, the Forester already has the stock fog light wiring harness built in behind the bumper so all we needed to do was to purchase some 9006 bulb connectors, micro relay and an OEM switch to hook up the hella lights. I ended up using some galvanized angle iron purchased from Home Depot to mount the lights on and so far I’m happy with the end result.
Now that I have most of the items I wanted done to the Forester, done… I don’t believe I have any more items planned for the forester. Maybe toy with the audio in the spring (front speaker upgrade, possibly a small sub?) But if I do, I’ll be sure to add it to this thread.
Again, thanks for reading up to this point, and I hope you’ve enjoyed it so far.
Regards,
W.


