Author Topic: Rad Shroud Installation - 06 WRX STI  (Read 1837 times)

0 Members and 1 Guest are viewing this topic.

Offline Hydro

  • Patchy Faced
  • ***
  • Posts: 455
  • Duramax FTW!
  • Location: Calgary
  • Ride: 06' STI & 08' Duramax
Rad Shroud Installation - 06 WRX STI
« on: May 19, 2009, 07:23:11 pm »
Here are the steps necessary to install a Rad Shroud. This is a very simple process, but I didn't find a DIY on WSC, so I figured I would post it up.

Difficulty: 1/10


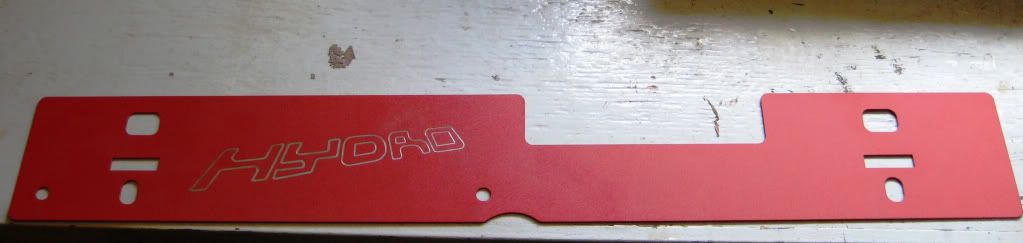
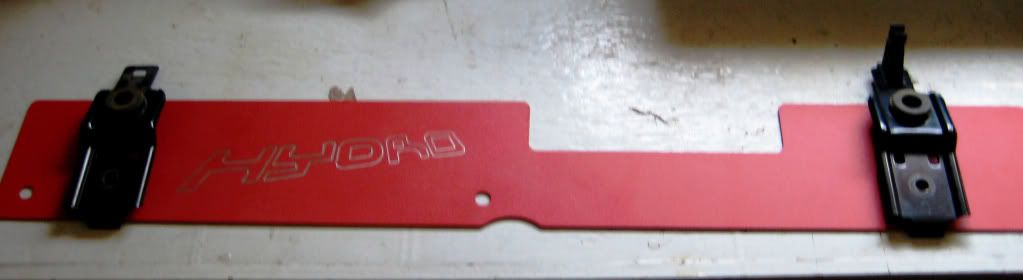
1. Inspect the rad shroud. This one was made by a WSC member/vendor -- WRX_RA. Pretty good piece of kit. Well made, and nicely powder coated to my specifications.


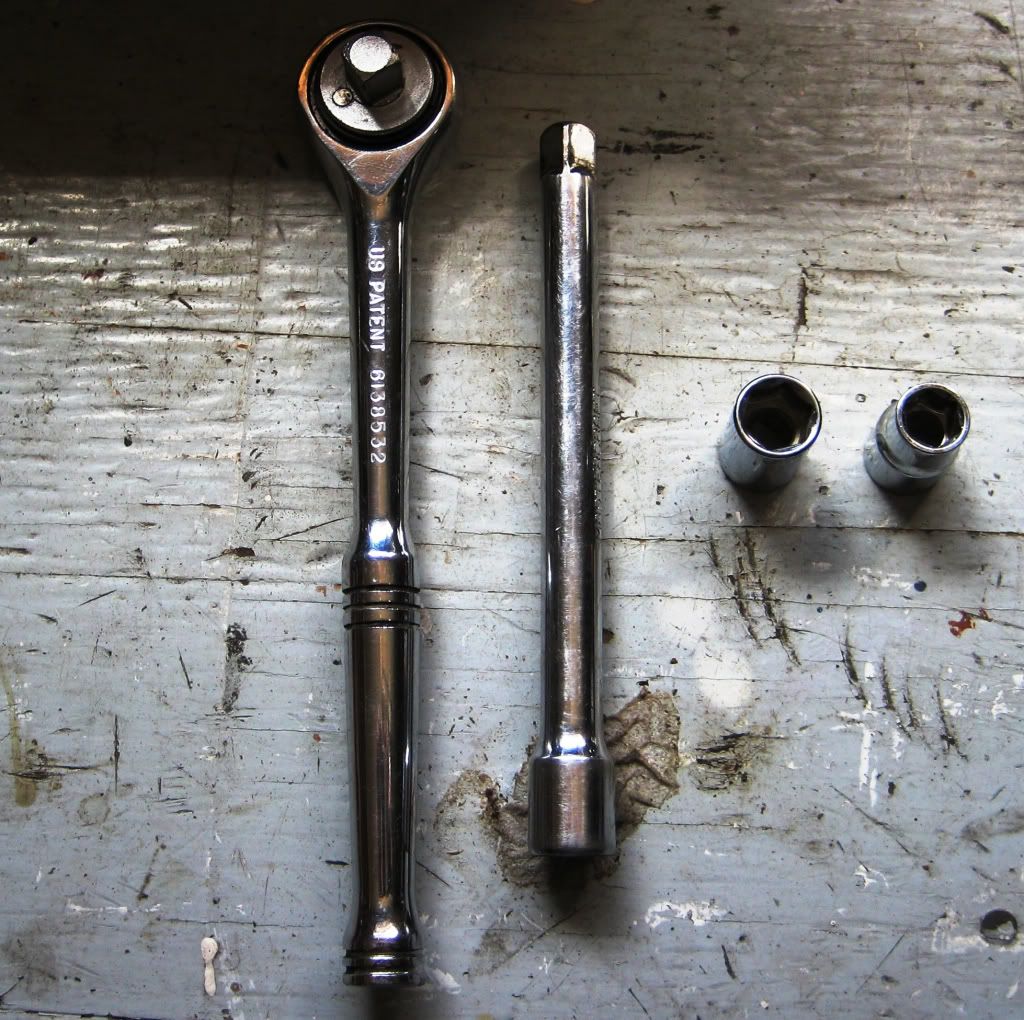
2. Get your tools out. You'll need a 3/8" Drive Wratchet, an extension, a 12mm socket, and a 10mm socket. You can simply use a 12mm and 10mm wrench if you like.


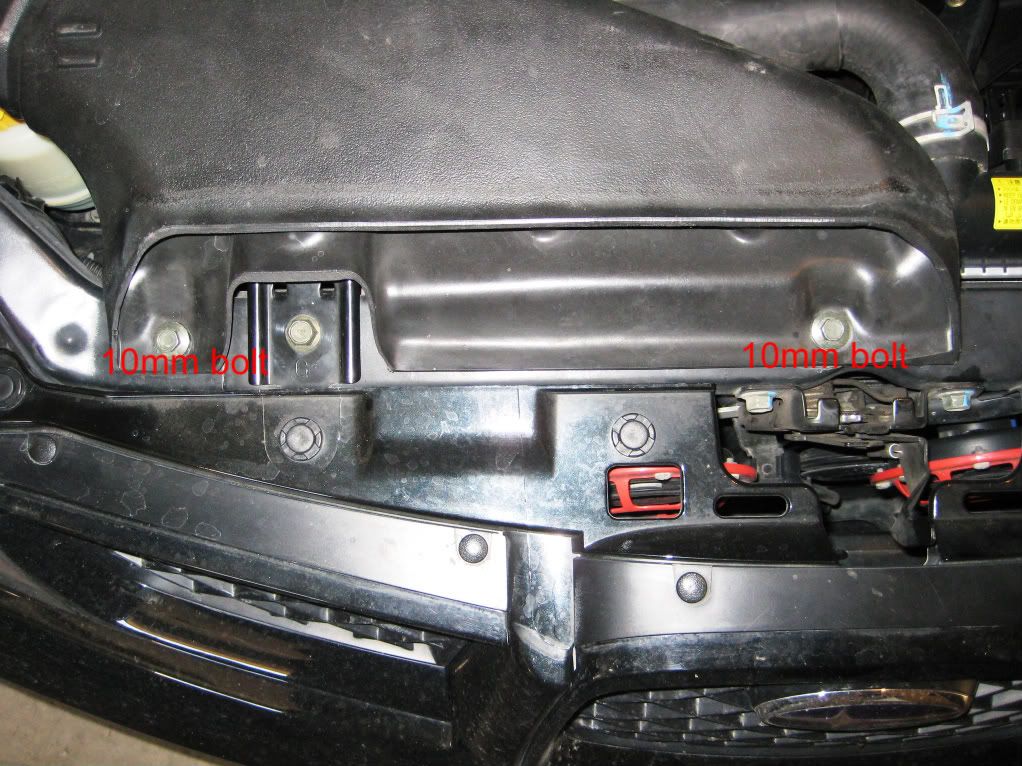
3. Remove the 2 x 10mm bolts securing the air inlet. Remove the air inlet.


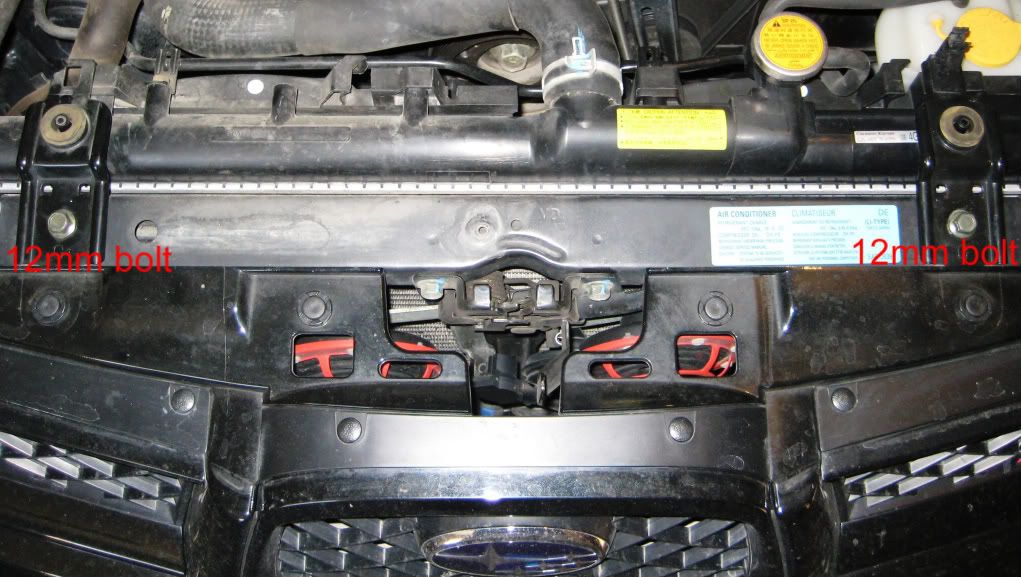
4. Remove the 2 x 12mm bolts securing the radiator braces.


close-up view of the drivers side radiator brace.


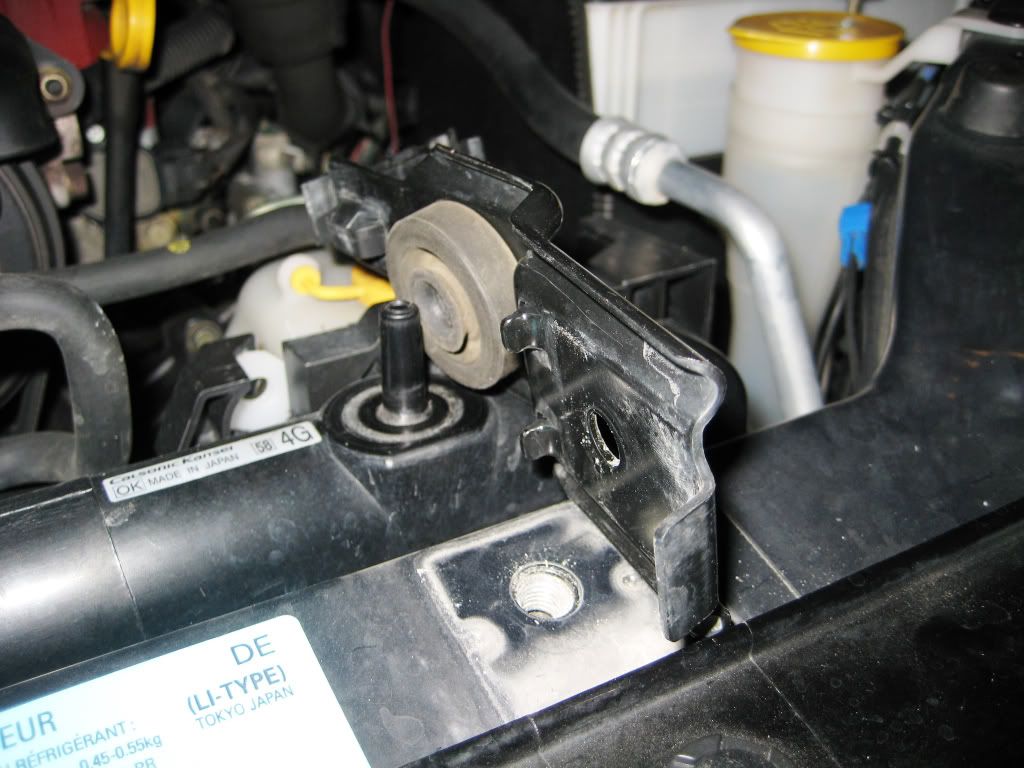
brace removed and rotated 90 deg to show how the brace engages the cross member.


5. Test fit the radiator braces and make sure the holes line up.
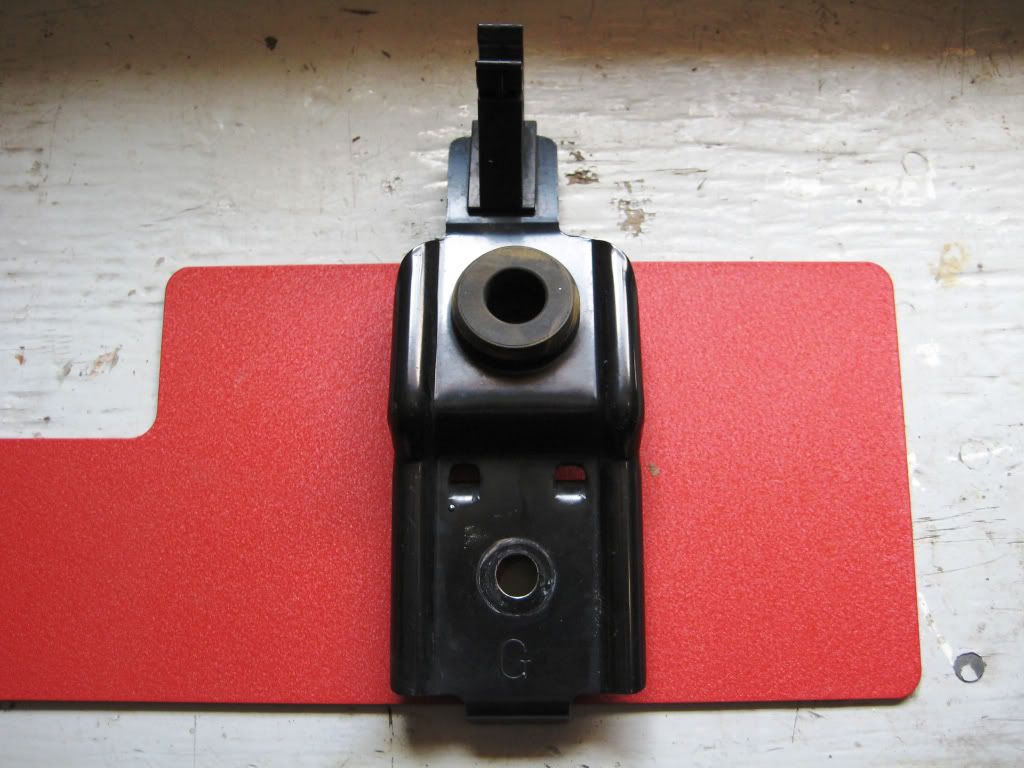

Close-up view.


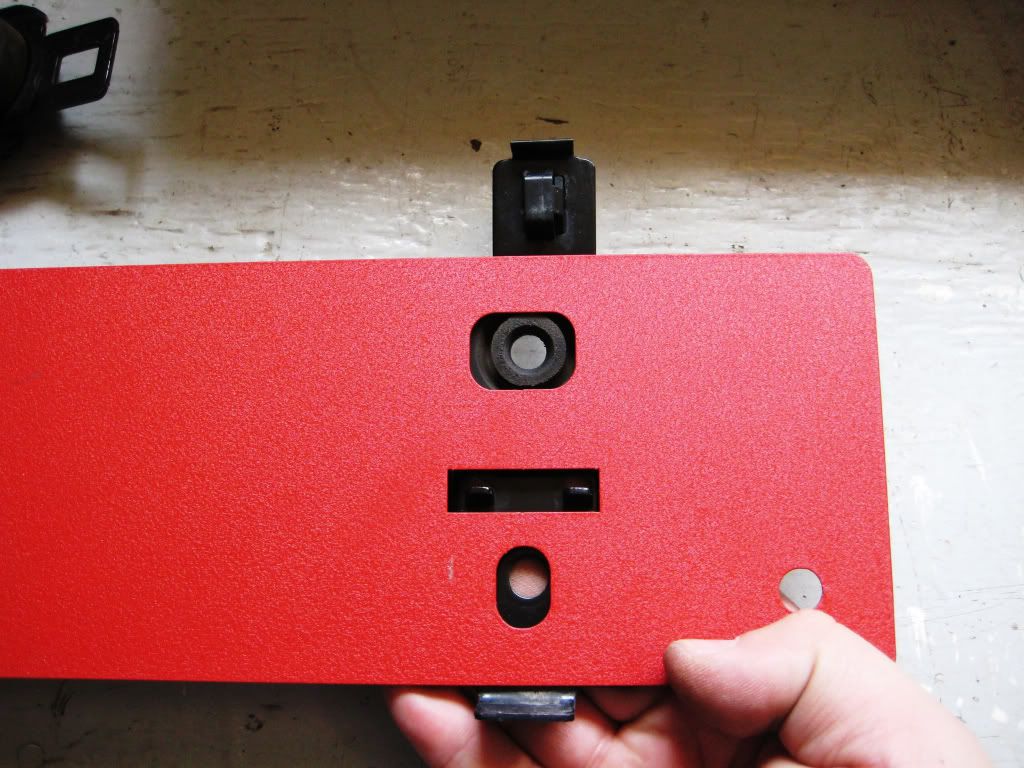
Reverse side showing how the brace engages the new rad shroud.


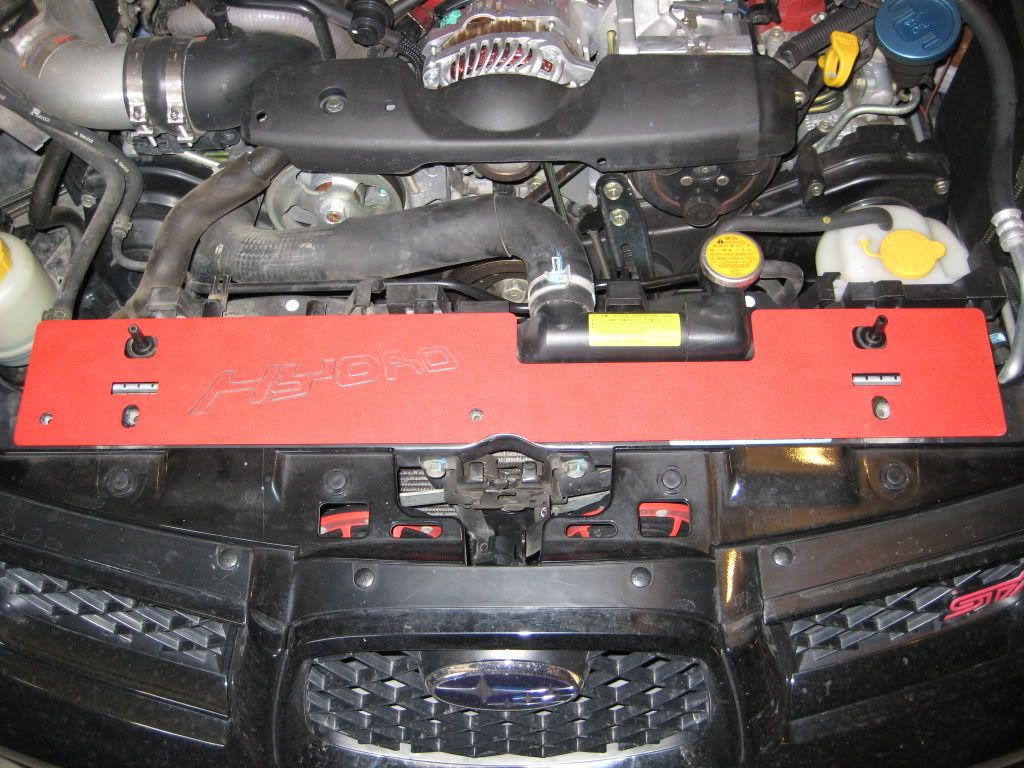
6. Test fit the new rad shroud on your car to make sure all the bolt and pillar holes line up.


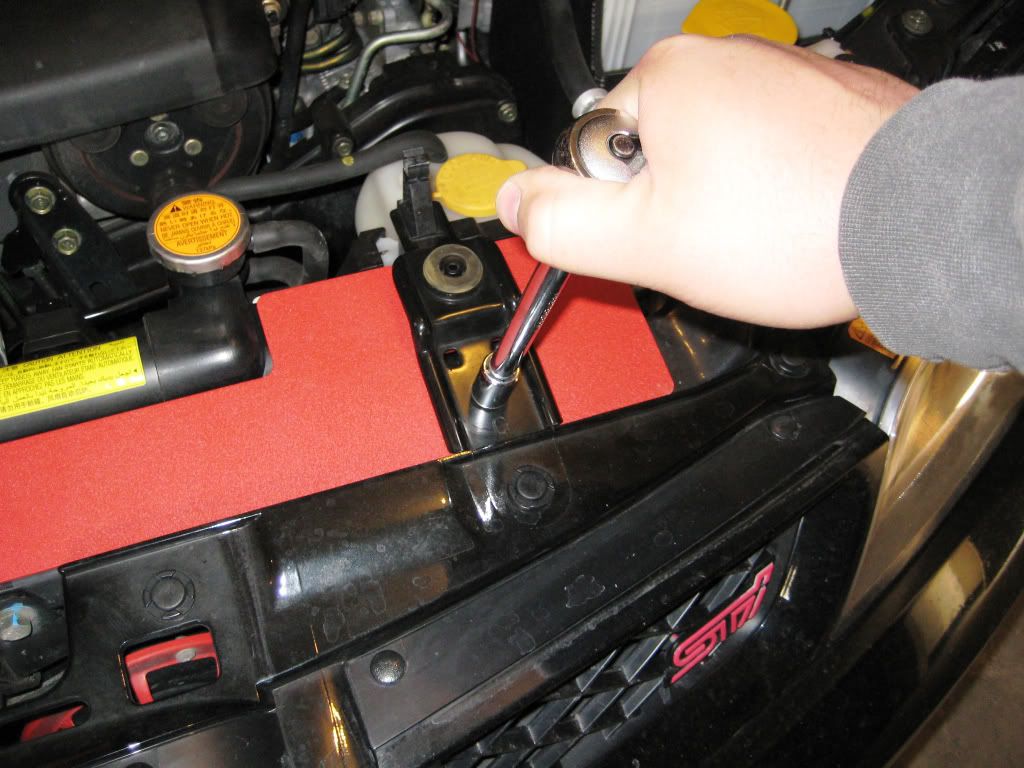
7. Line up the left and right radiator braces and secure with 2 x 12mm bolts that were previously removed.


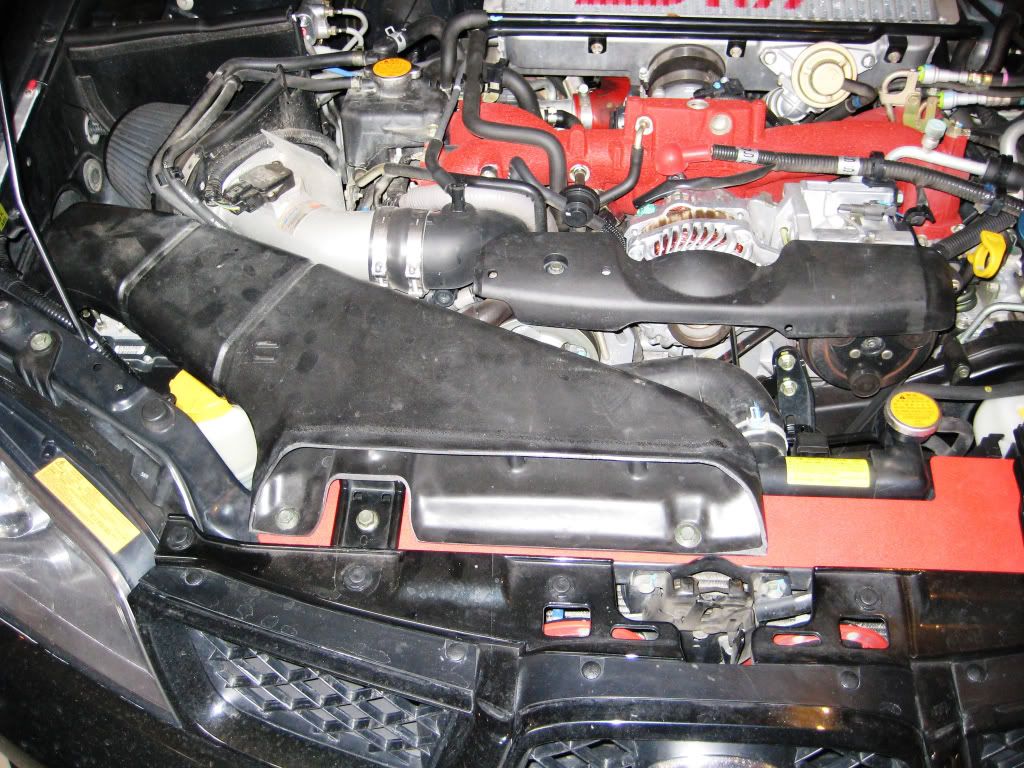
8. Re-install the air intake and secure with 2 x 10mm bolts that were previously removed.

That's all... Happy DIY.


Offline Hurricane

  • WSC Supporter
  • Rivaling ZZ-TOP
  • *****
  • Posts: 2259
  • Bazinga!
  • Location: Calgary
  • Ride: '14 Fiesta ST
Re: Rad Shroud Installation - 06 WRX STI
« Reply #1 on: May 19, 2009, 07:25:56 pm »
Wow Hydro, you must really like your ratchet set ;)
Genius has its limits, but stupidity is boundless
"If in doubt, flat out" - Colin McRae (RIP)

Offline Hydro

  • Patchy Faced
  • ***
  • Posts: 455
  • Duramax FTW!
  • Location: Calgary
  • Ride: 06' STI & 08' Duramax
Re: Rad Shroud Installation - 06 WRX STI
« Reply #2 on: May 19, 2009, 07:27:26 pm »
Yeah fixed that.  Something was wrong with my fingers.  Ctrl+c wasn't working properly...   ::)

Offline tom-s

  • Beards Comin in Nice
  • ****
  • Posts: 730
  • Location: Fort Mcmurray
  • Ride: 2011 Nissan GTR. 99' Hummer H1
Re: Rad Shroud Installation - 06 WRX STI
« Reply #3 on: May 19, 2009, 07:30:23 pm »
Did you want them to put Hydro where the air duct was?
Anyways good write up. Thanks

Offline pearl boxer

  • WSC Supporter
  • Rivaling ZZ-TOP
  • *****
  • Posts: 4881
  • Location: Edmonton
  • Ride: will be teh fastest one day
Re: Rad Shroud Installation - 06 WRX STI
« Reply #4 on: May 19, 2009, 07:34:02 pm »
Did you want them to put Hydro where the air duct was?

Wondered this too.  Possible future plans to remove air duct, for big build?

Offline Hydro

  • Patchy Faced
  • ***
  • Posts: 455
  • Duramax FTW!
  • Location: Calgary
  • Ride: 06' STI & 08' Duramax
Re: Rad Shroud Installation - 06 WRX STI
« Reply #5 on: May 19, 2009, 07:46:37 pm »
Did you want them to put Hydro where the air duct was?

Wondered this too.  Possible future plans to remove air duct, for big build?

Actually, I wanted OTIS there instead.  So it doesn't really matter to me.  I think when I'm in Edmonton I will drop it off for WRX_RA to etch in OTIS on the exposed part of the shroud.  I don't have future plans for a front mount or anything like that.  I may go bigger on the TMIC though...  Who knows...

Offline Jitenshakun

  • WSC Pot Stick Posse
  • Rivaling ZZ-TOP
  • *****
  • Posts: 2514
Re: Rad Shroud Installation - 06 WRX STI
« Reply #6 on: May 19, 2009, 08:52:31 pm »
I don't quite follow.

Any chance you can post a vid of the install?
You aren't mistaken; this post was solid gold.

Offline Zaider

  • WSC Supporter
  • Rivaling ZZ-TOP
  • *****
  • Posts: 12621
  • <shifty eyes>
  • Location: Calgary, AB
  • Ride: Oh look at the kitty!
Re: Rad Shroud Installation - 06 WRX STI
« Reply #7 on: May 19, 2009, 11:09:06 pm »
There's not enough steps to this DIY...

Also, you're missing the

"Step 9: ..."
"Step 10: Profit"

Go home Subaru. You're drunk.
Quote from: seat safety switch
audis are disposable suicide machines with 700lb of stupid interior itshay glued to them and 200 more horsepower than it needs so that their owners can never bring on track or drive anywhere more aggressively than a camry except when weaving in and out of traffic and letting the traction control soak up their incompetence